How to Open and Reassemble a Warner 8-Track Cartridge
The Warner cartridge can be a bit tricky to open the first time. In this guide, I'll show you how to do it, step by step, and how to put it back together safely.
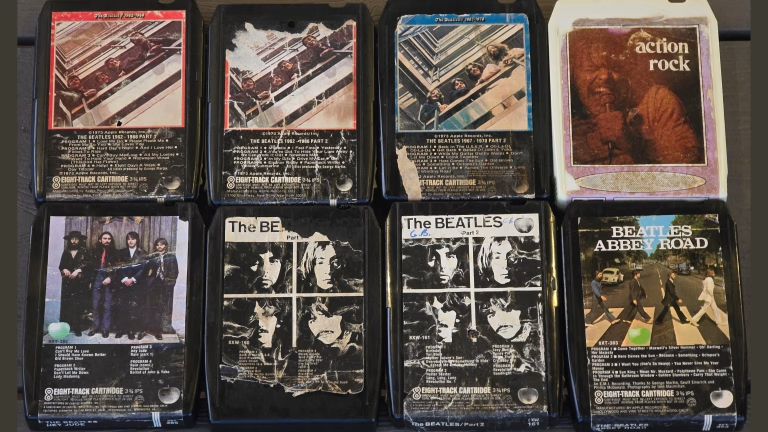
Most 8-track cartridges look pretty similar at first glance, but different manufacturers had their own designs. One of the most widespread variants is the so-called Warner cartridge, named after Warner Bros who used this type extensively.
The article continues in text and images below the YouTube video:
Characteristics
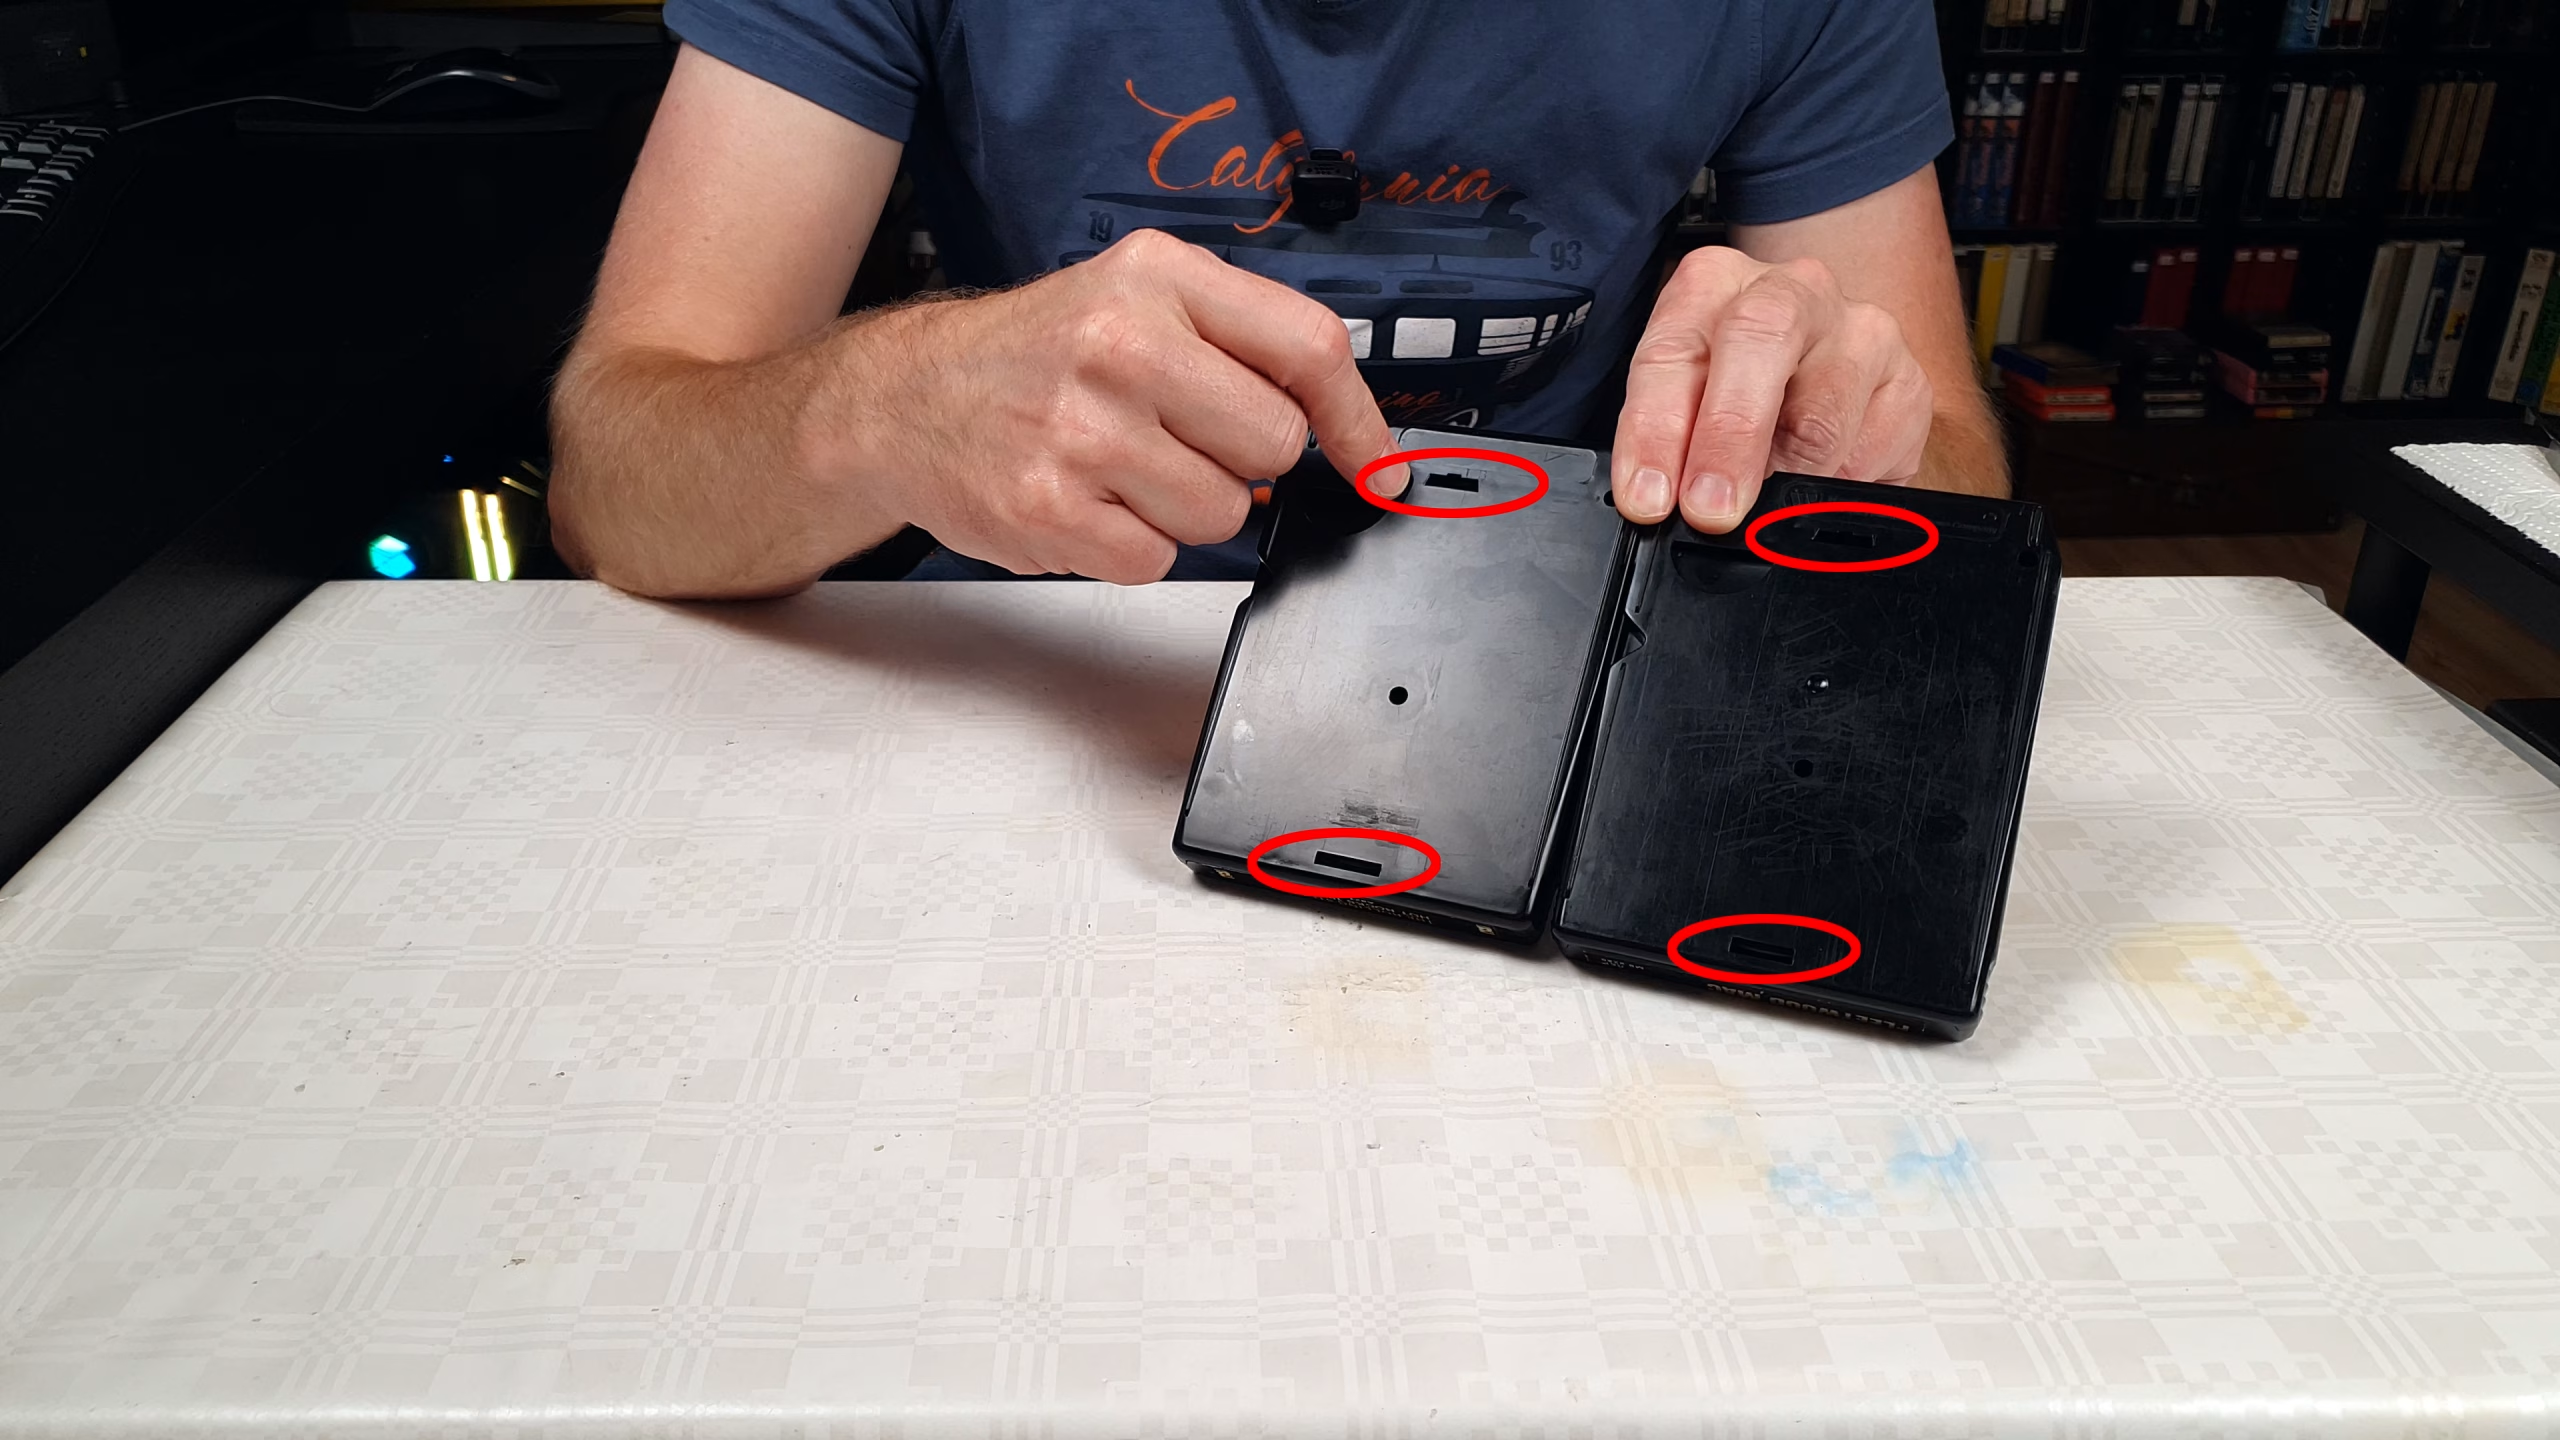
The Warner cartridge is hinged together with two tabs, one at the top and one at the bottom.
The right tool
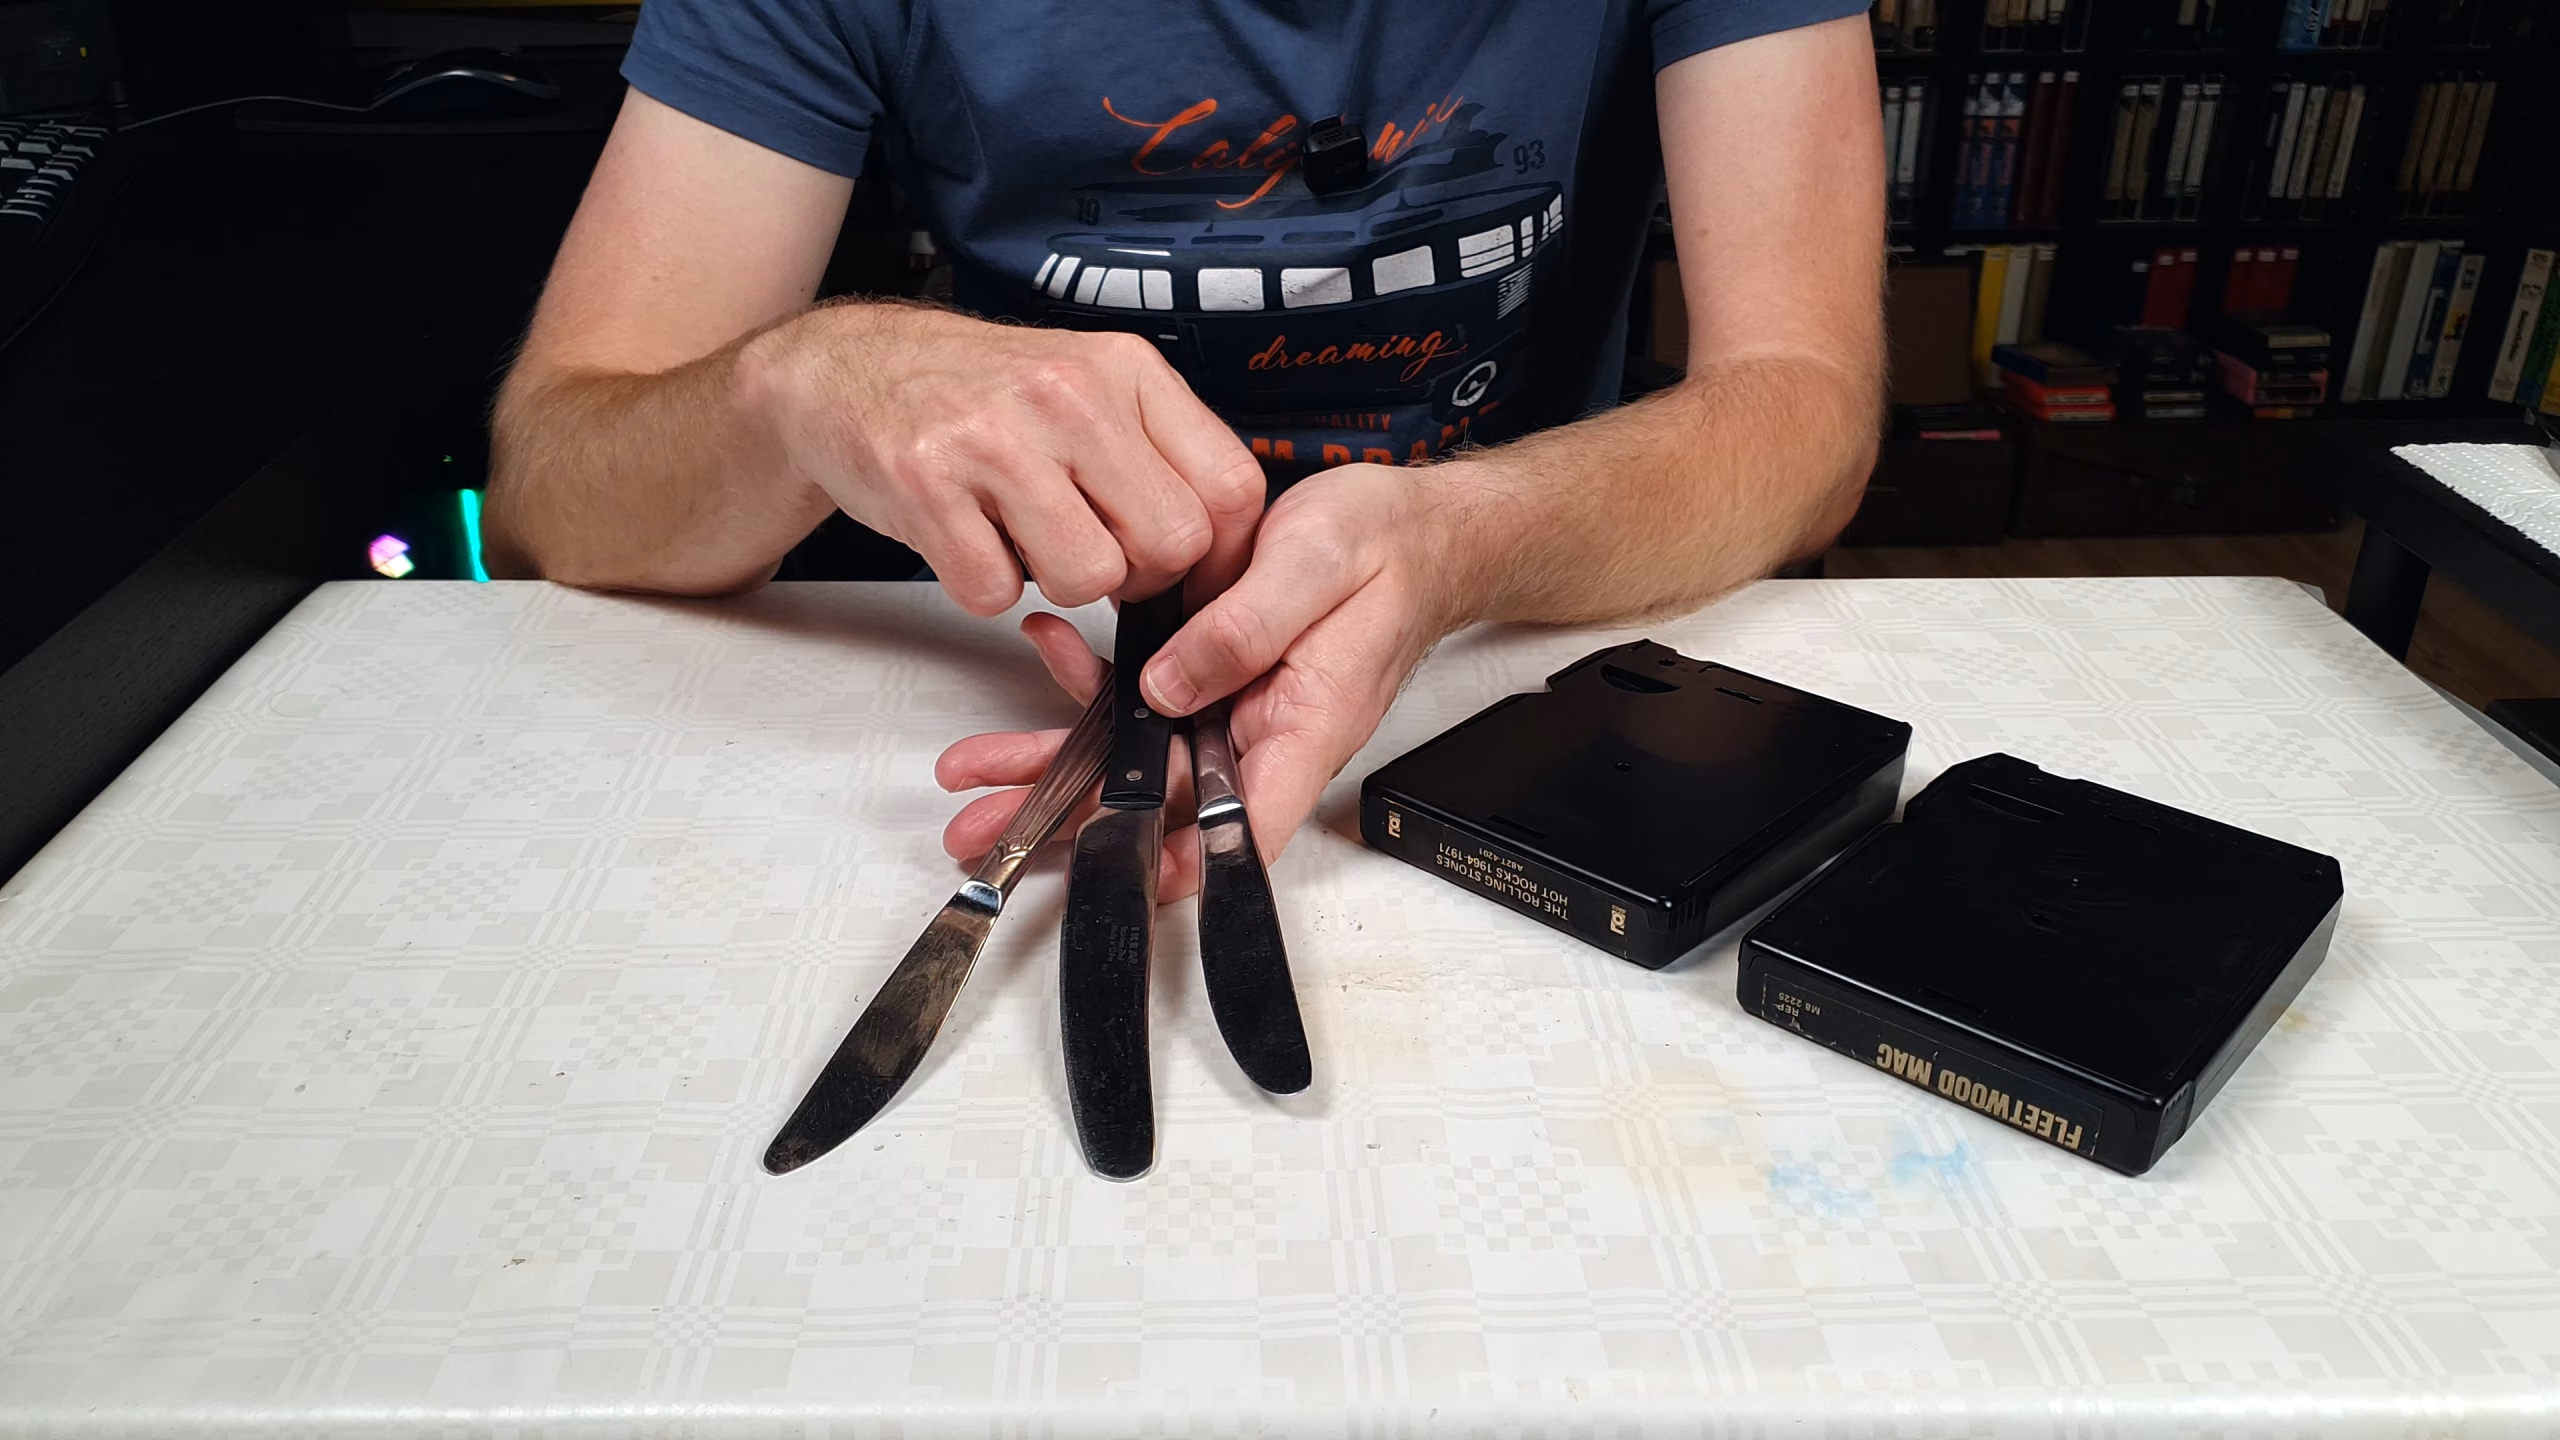
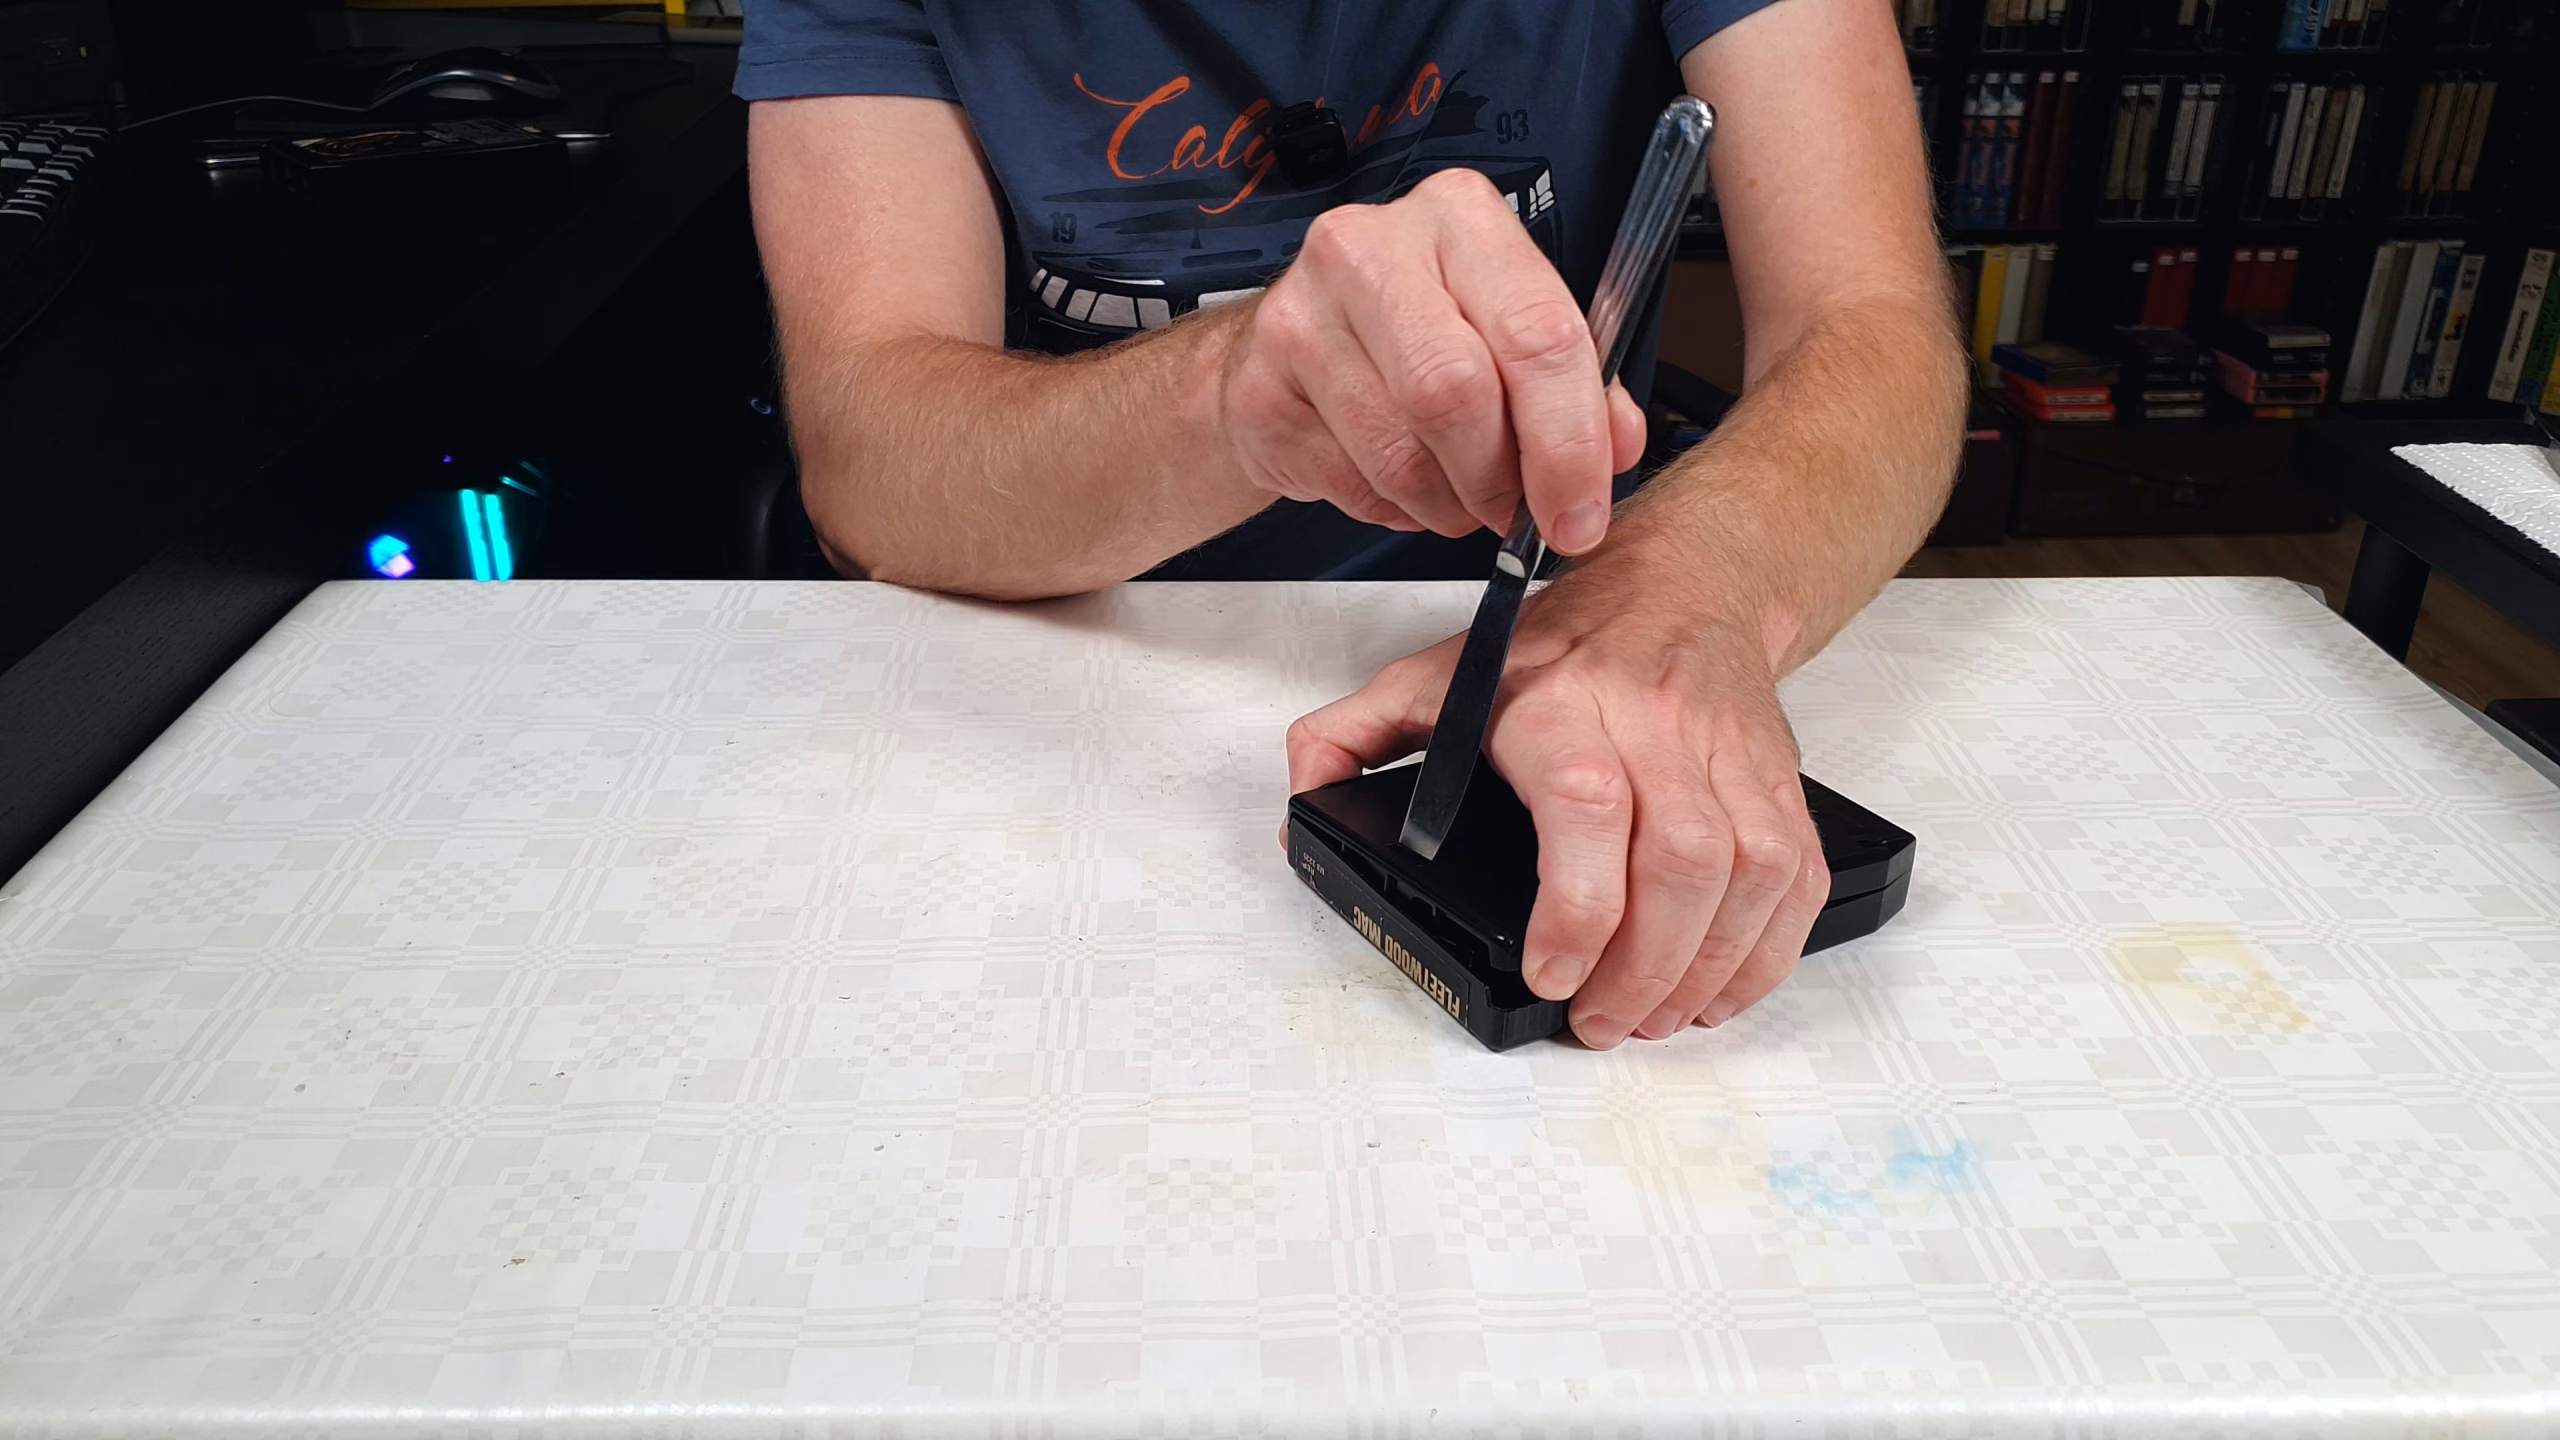
A flat, wide tool works best. Many people are tempted to use a screwdriver, but it can easily make marks or damage the tab. A good alternative is actually an old butter knife or another wide cutlery knife that is narrow enough to reach all the way down into the groove, but wide enough to provide steady pressure.
How to do it
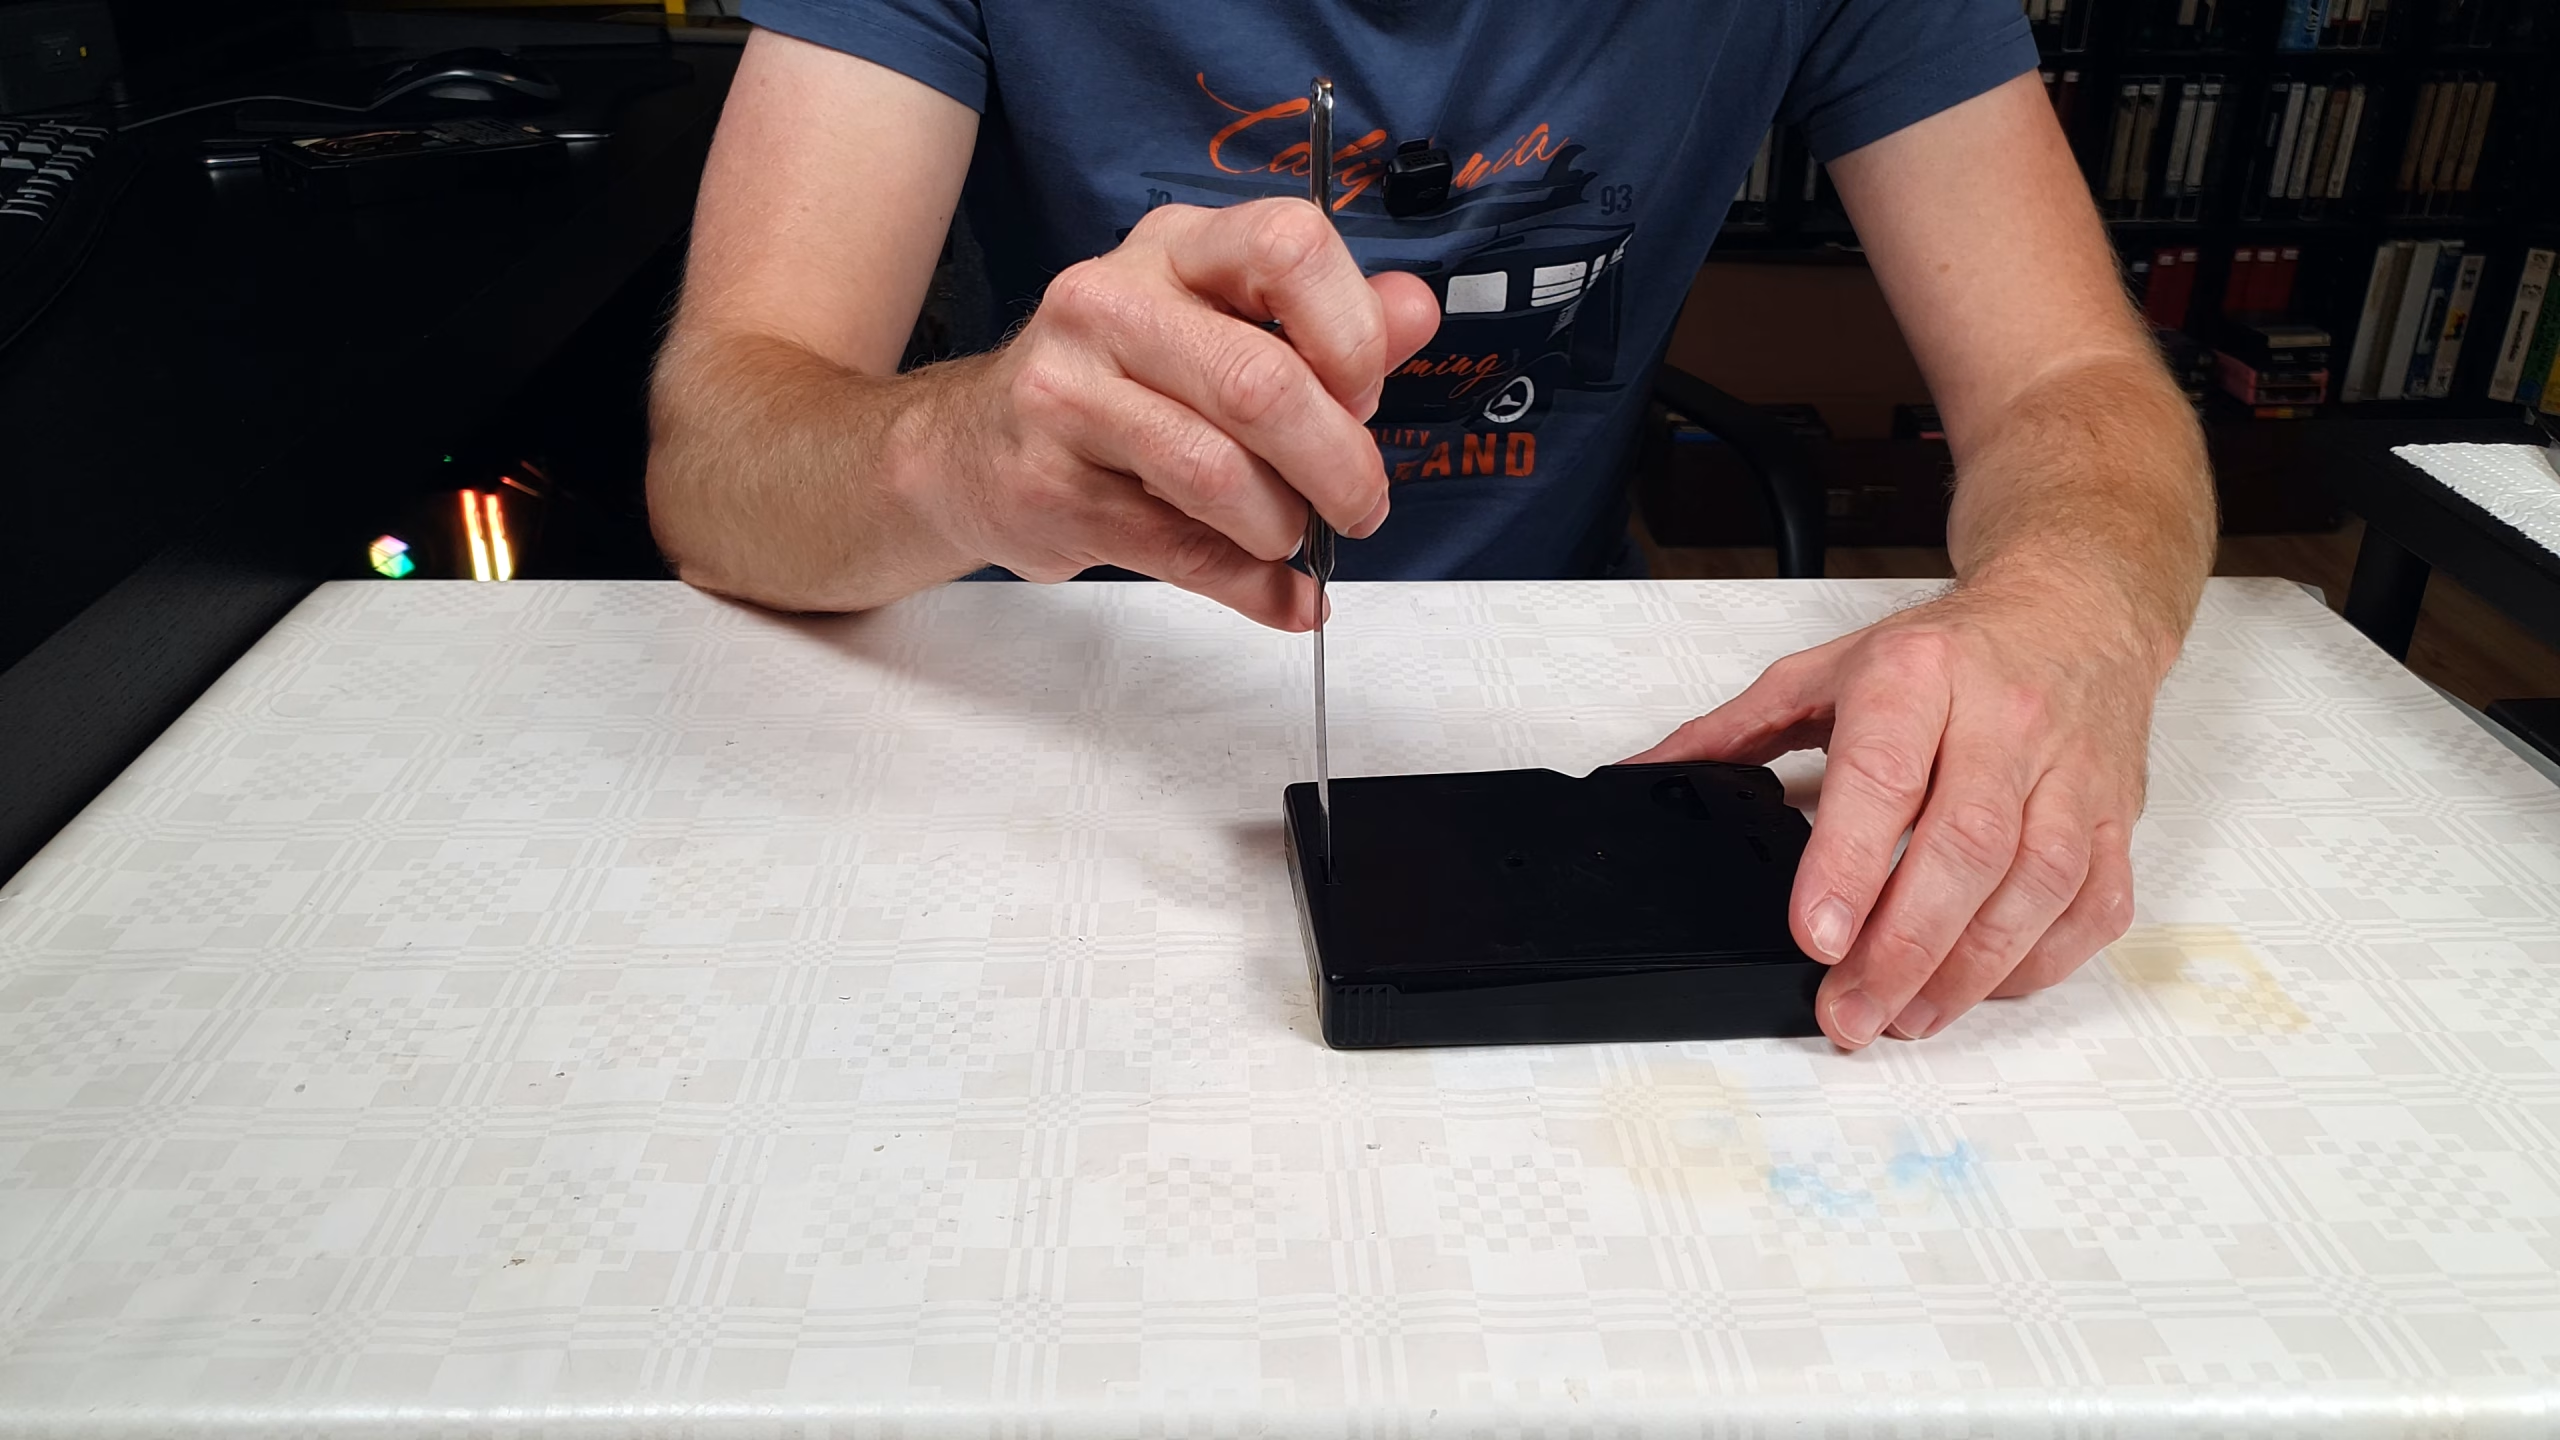
1. Lay the cartridge upside down on a flat surface (with the label facing down). Insert the knife into the bottom slot.
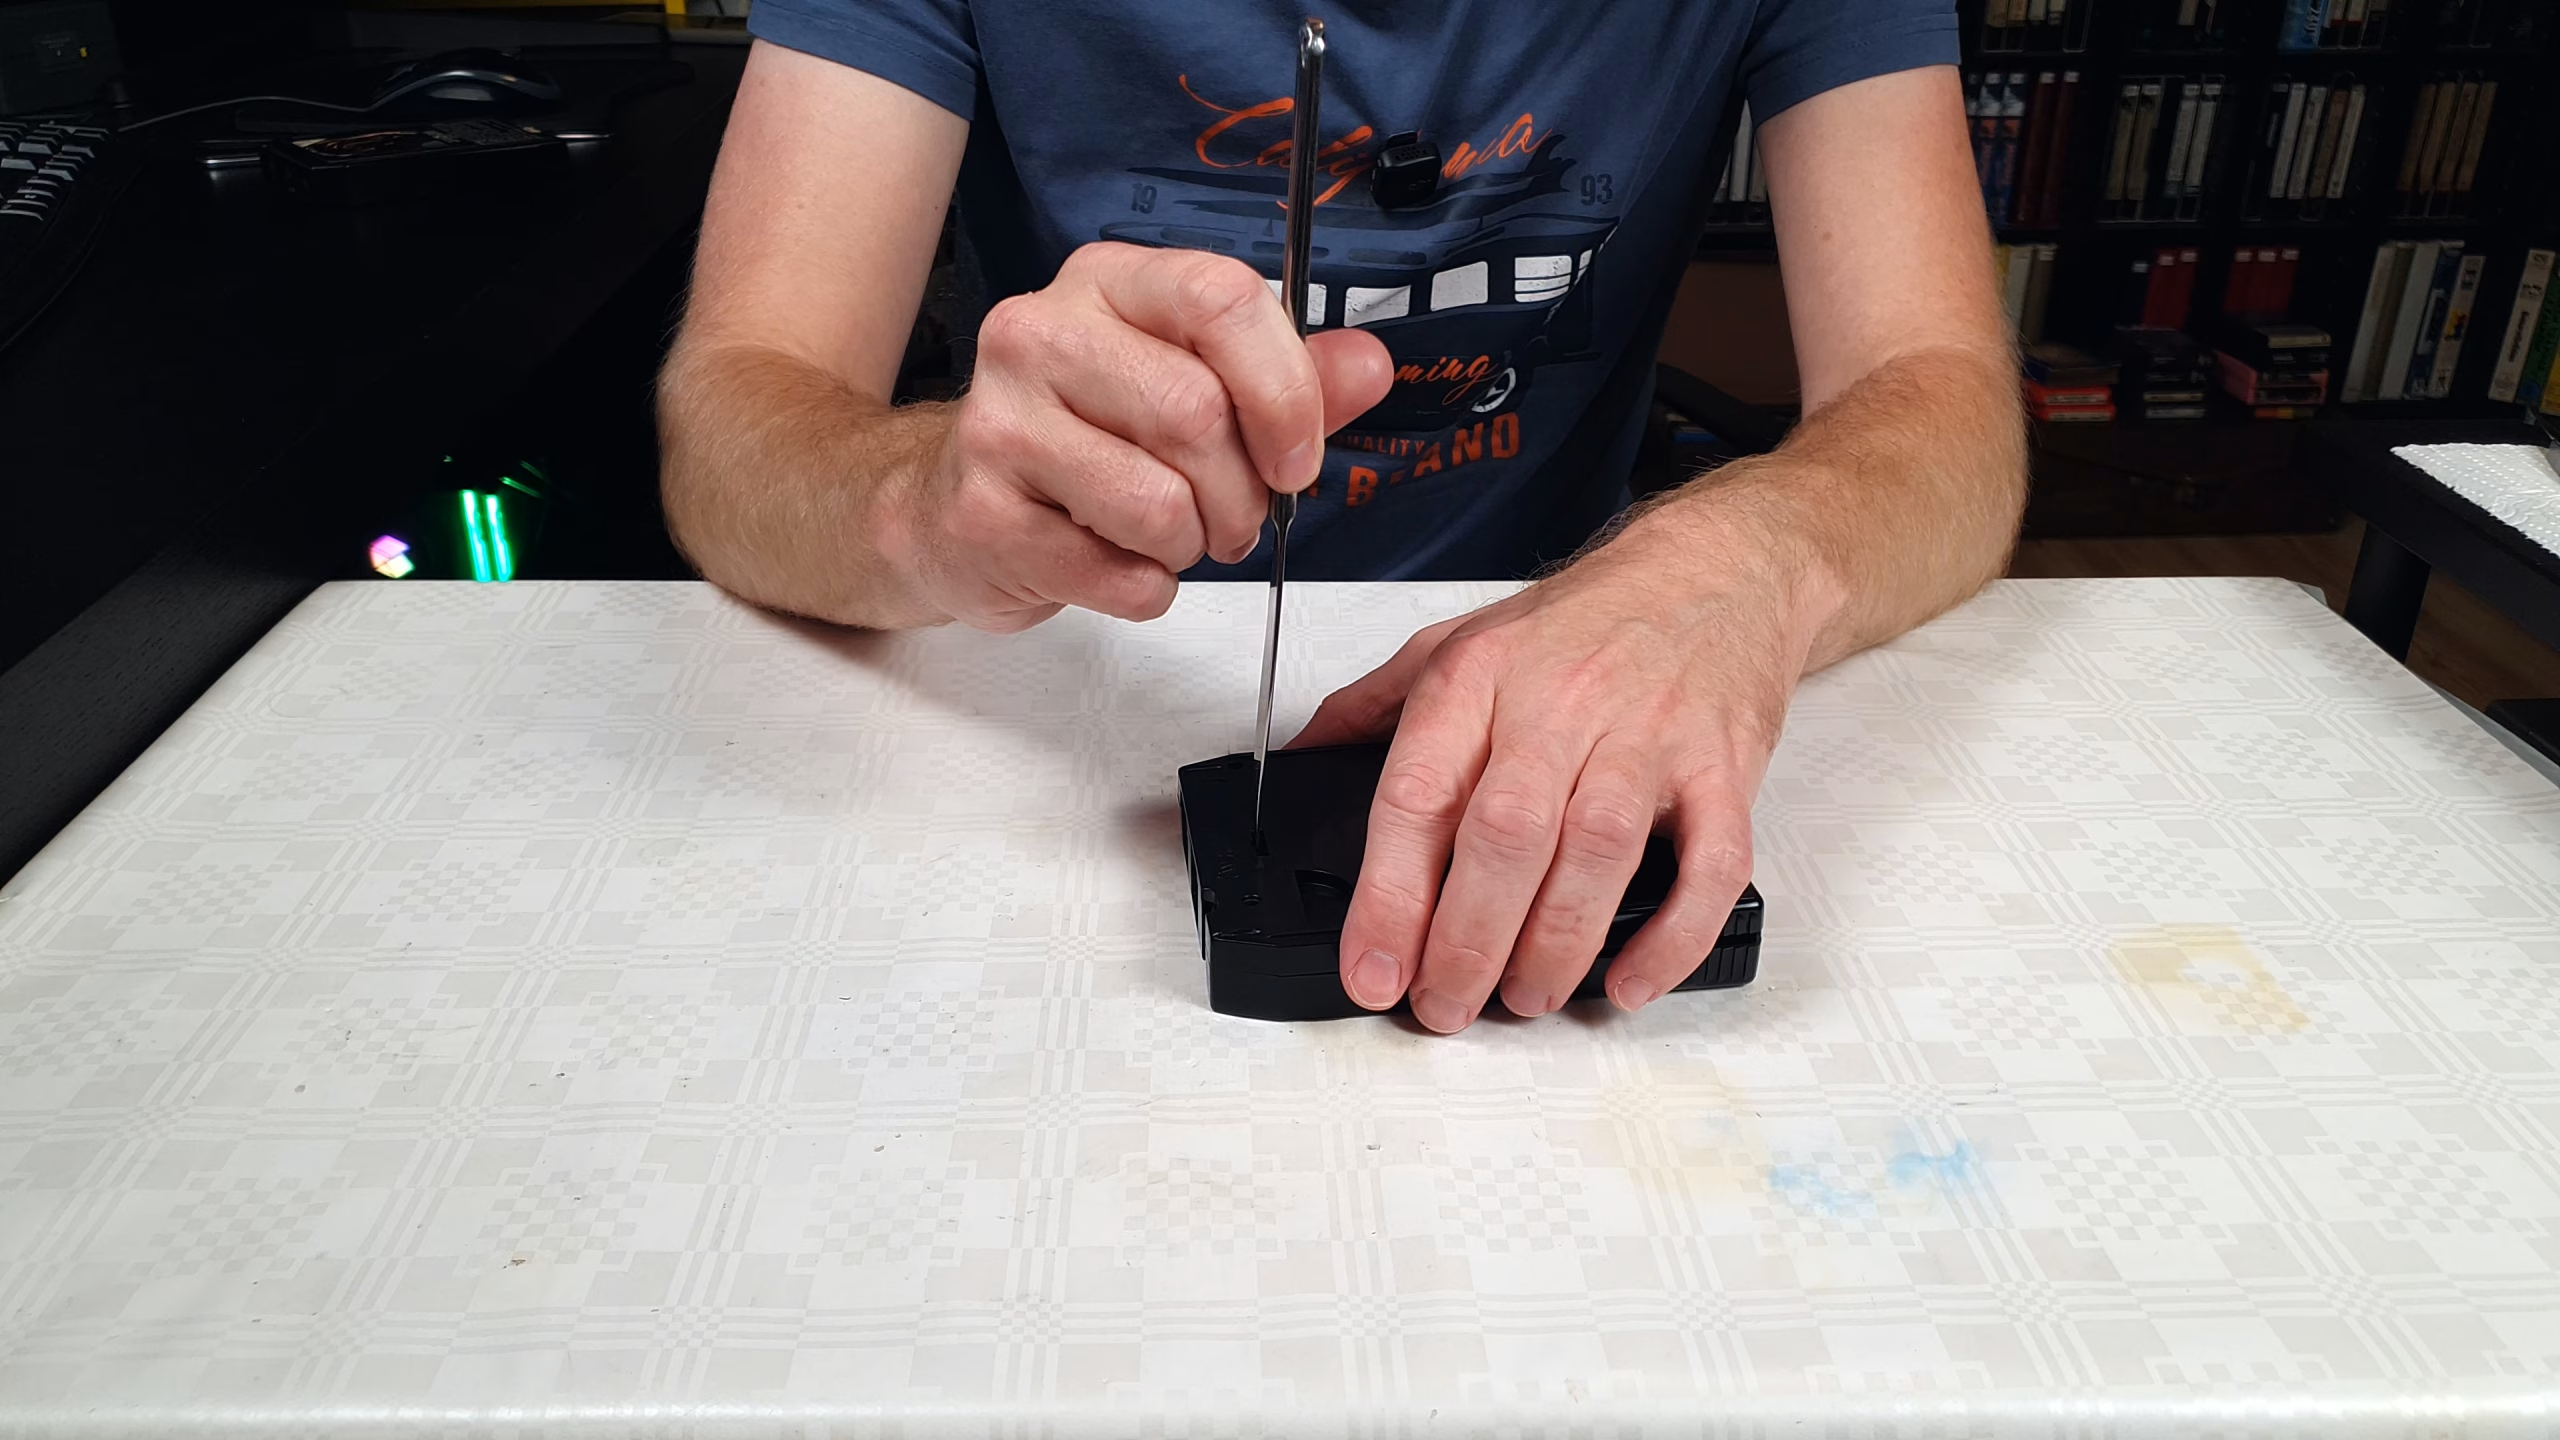
2. Bend the tool upwards
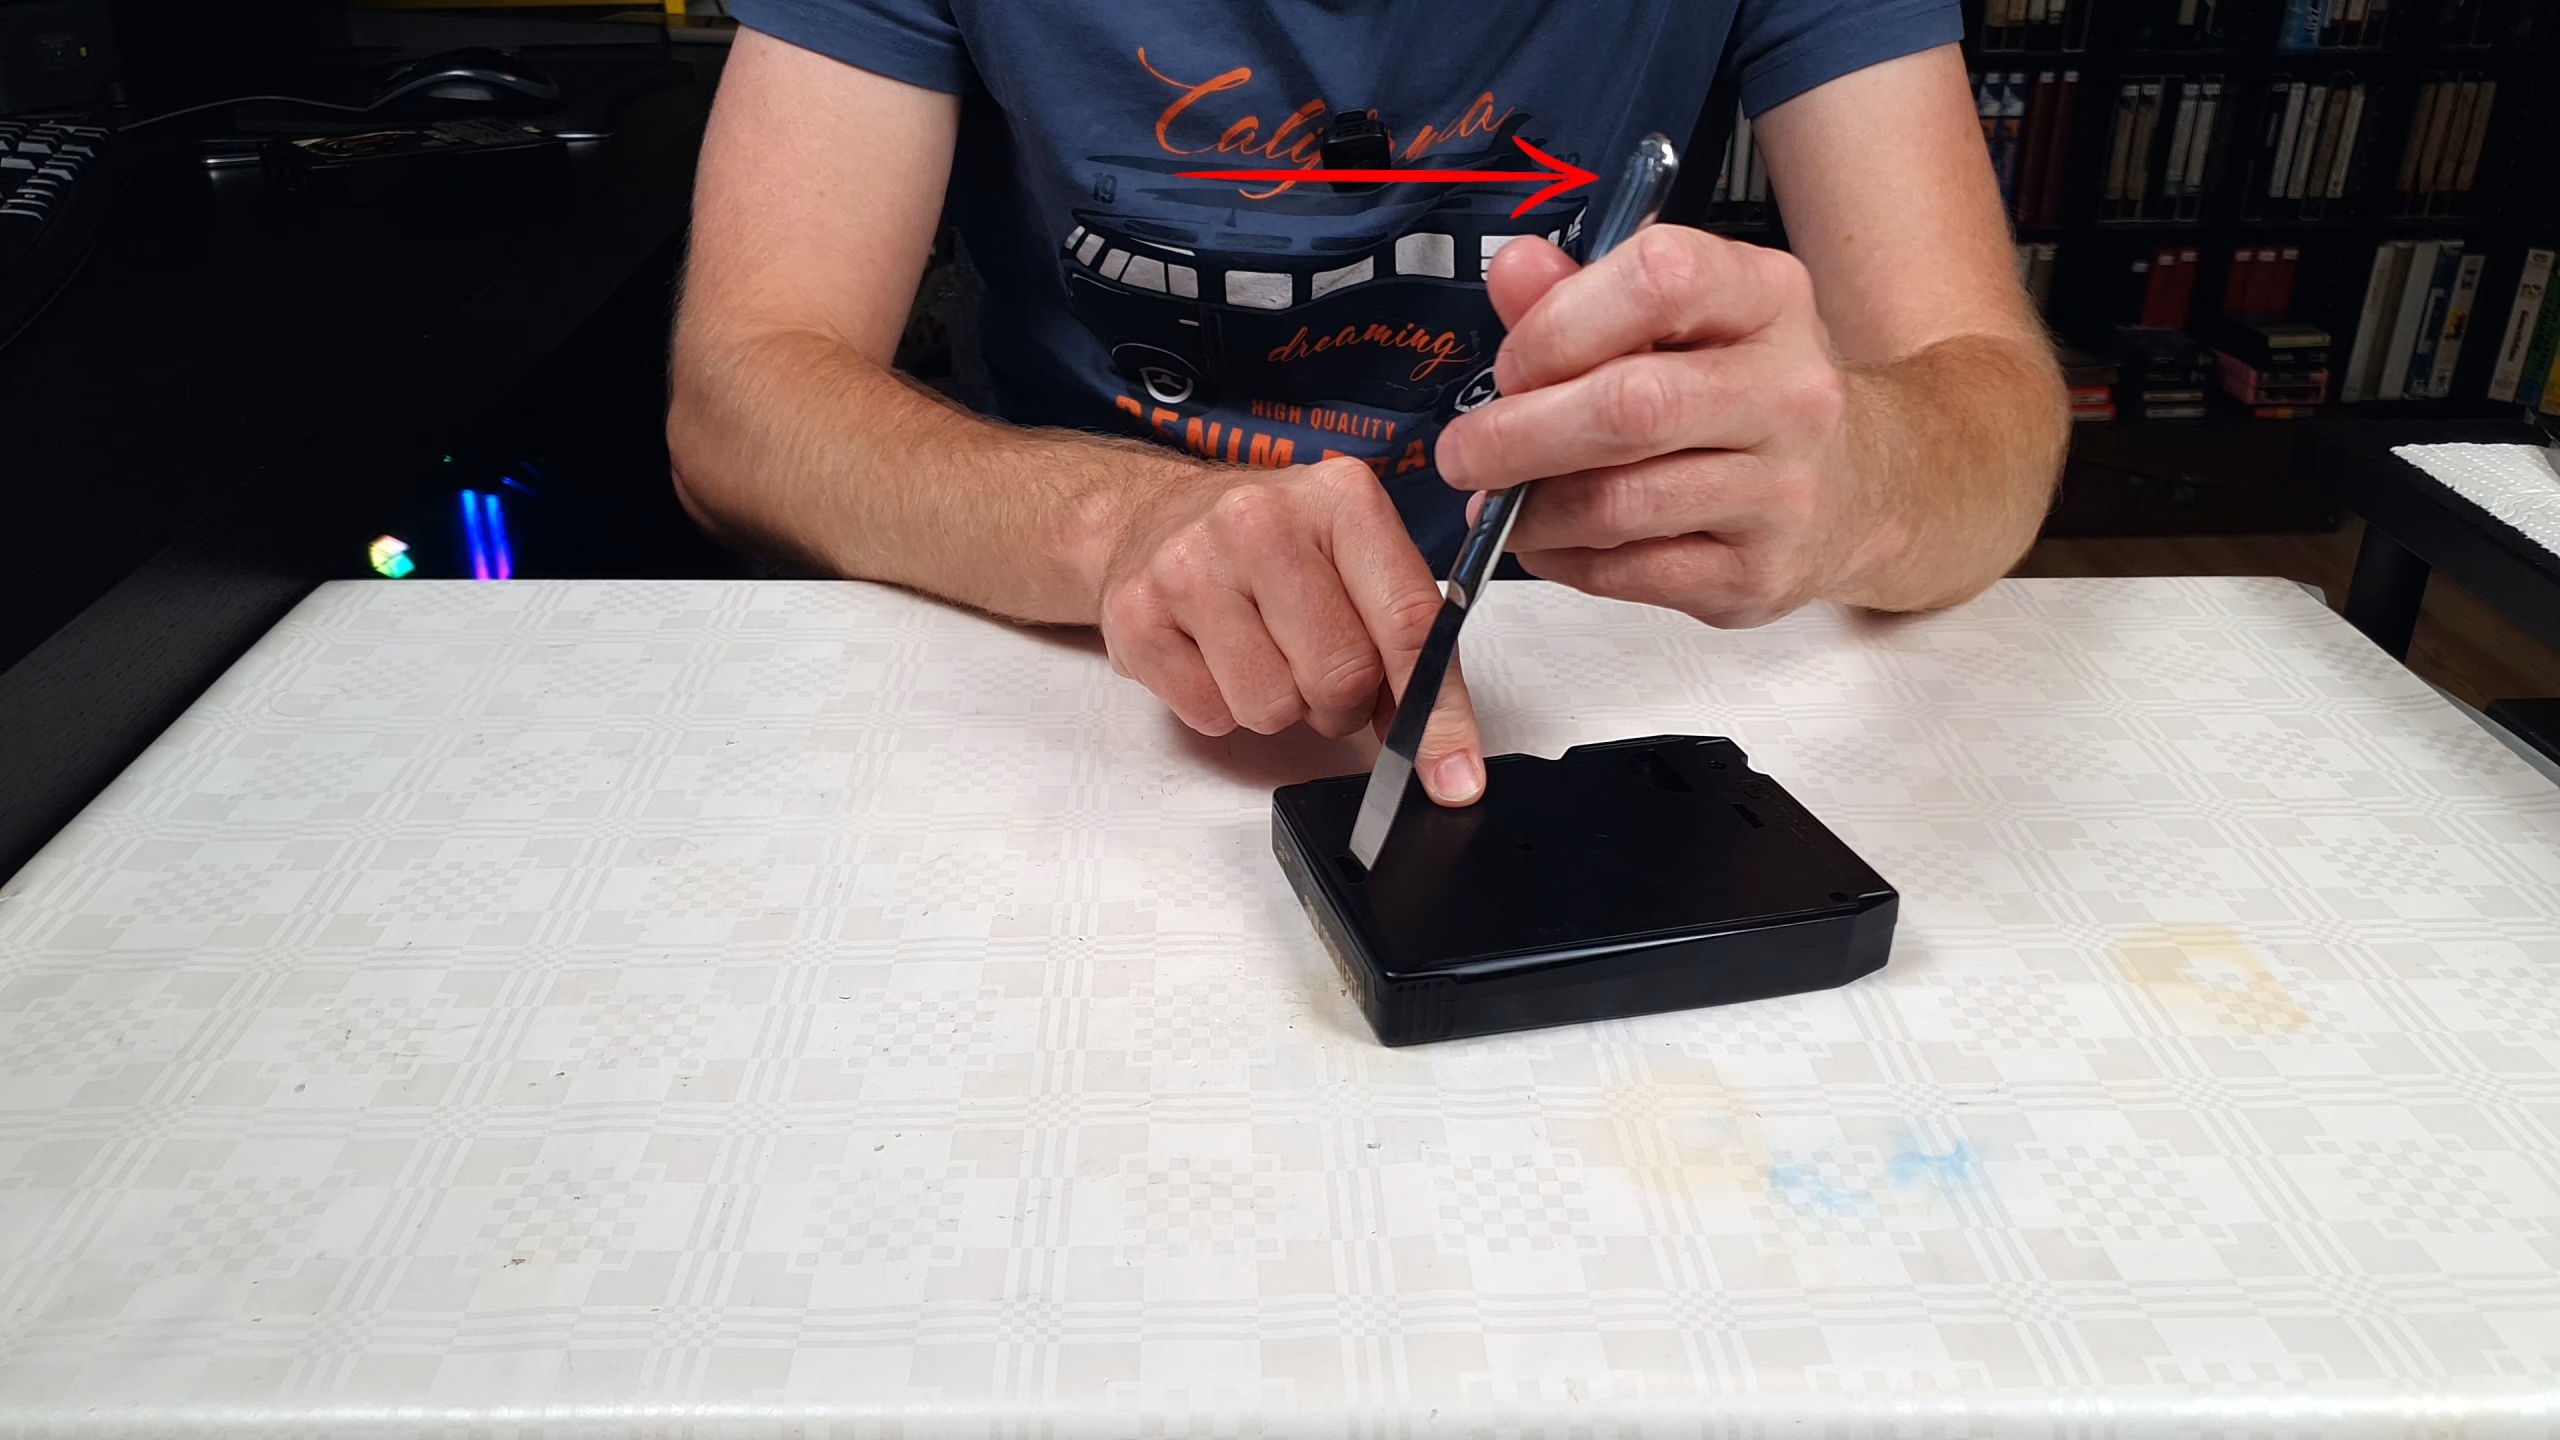
3. Open the tab
4. Do the same with clip no. 2
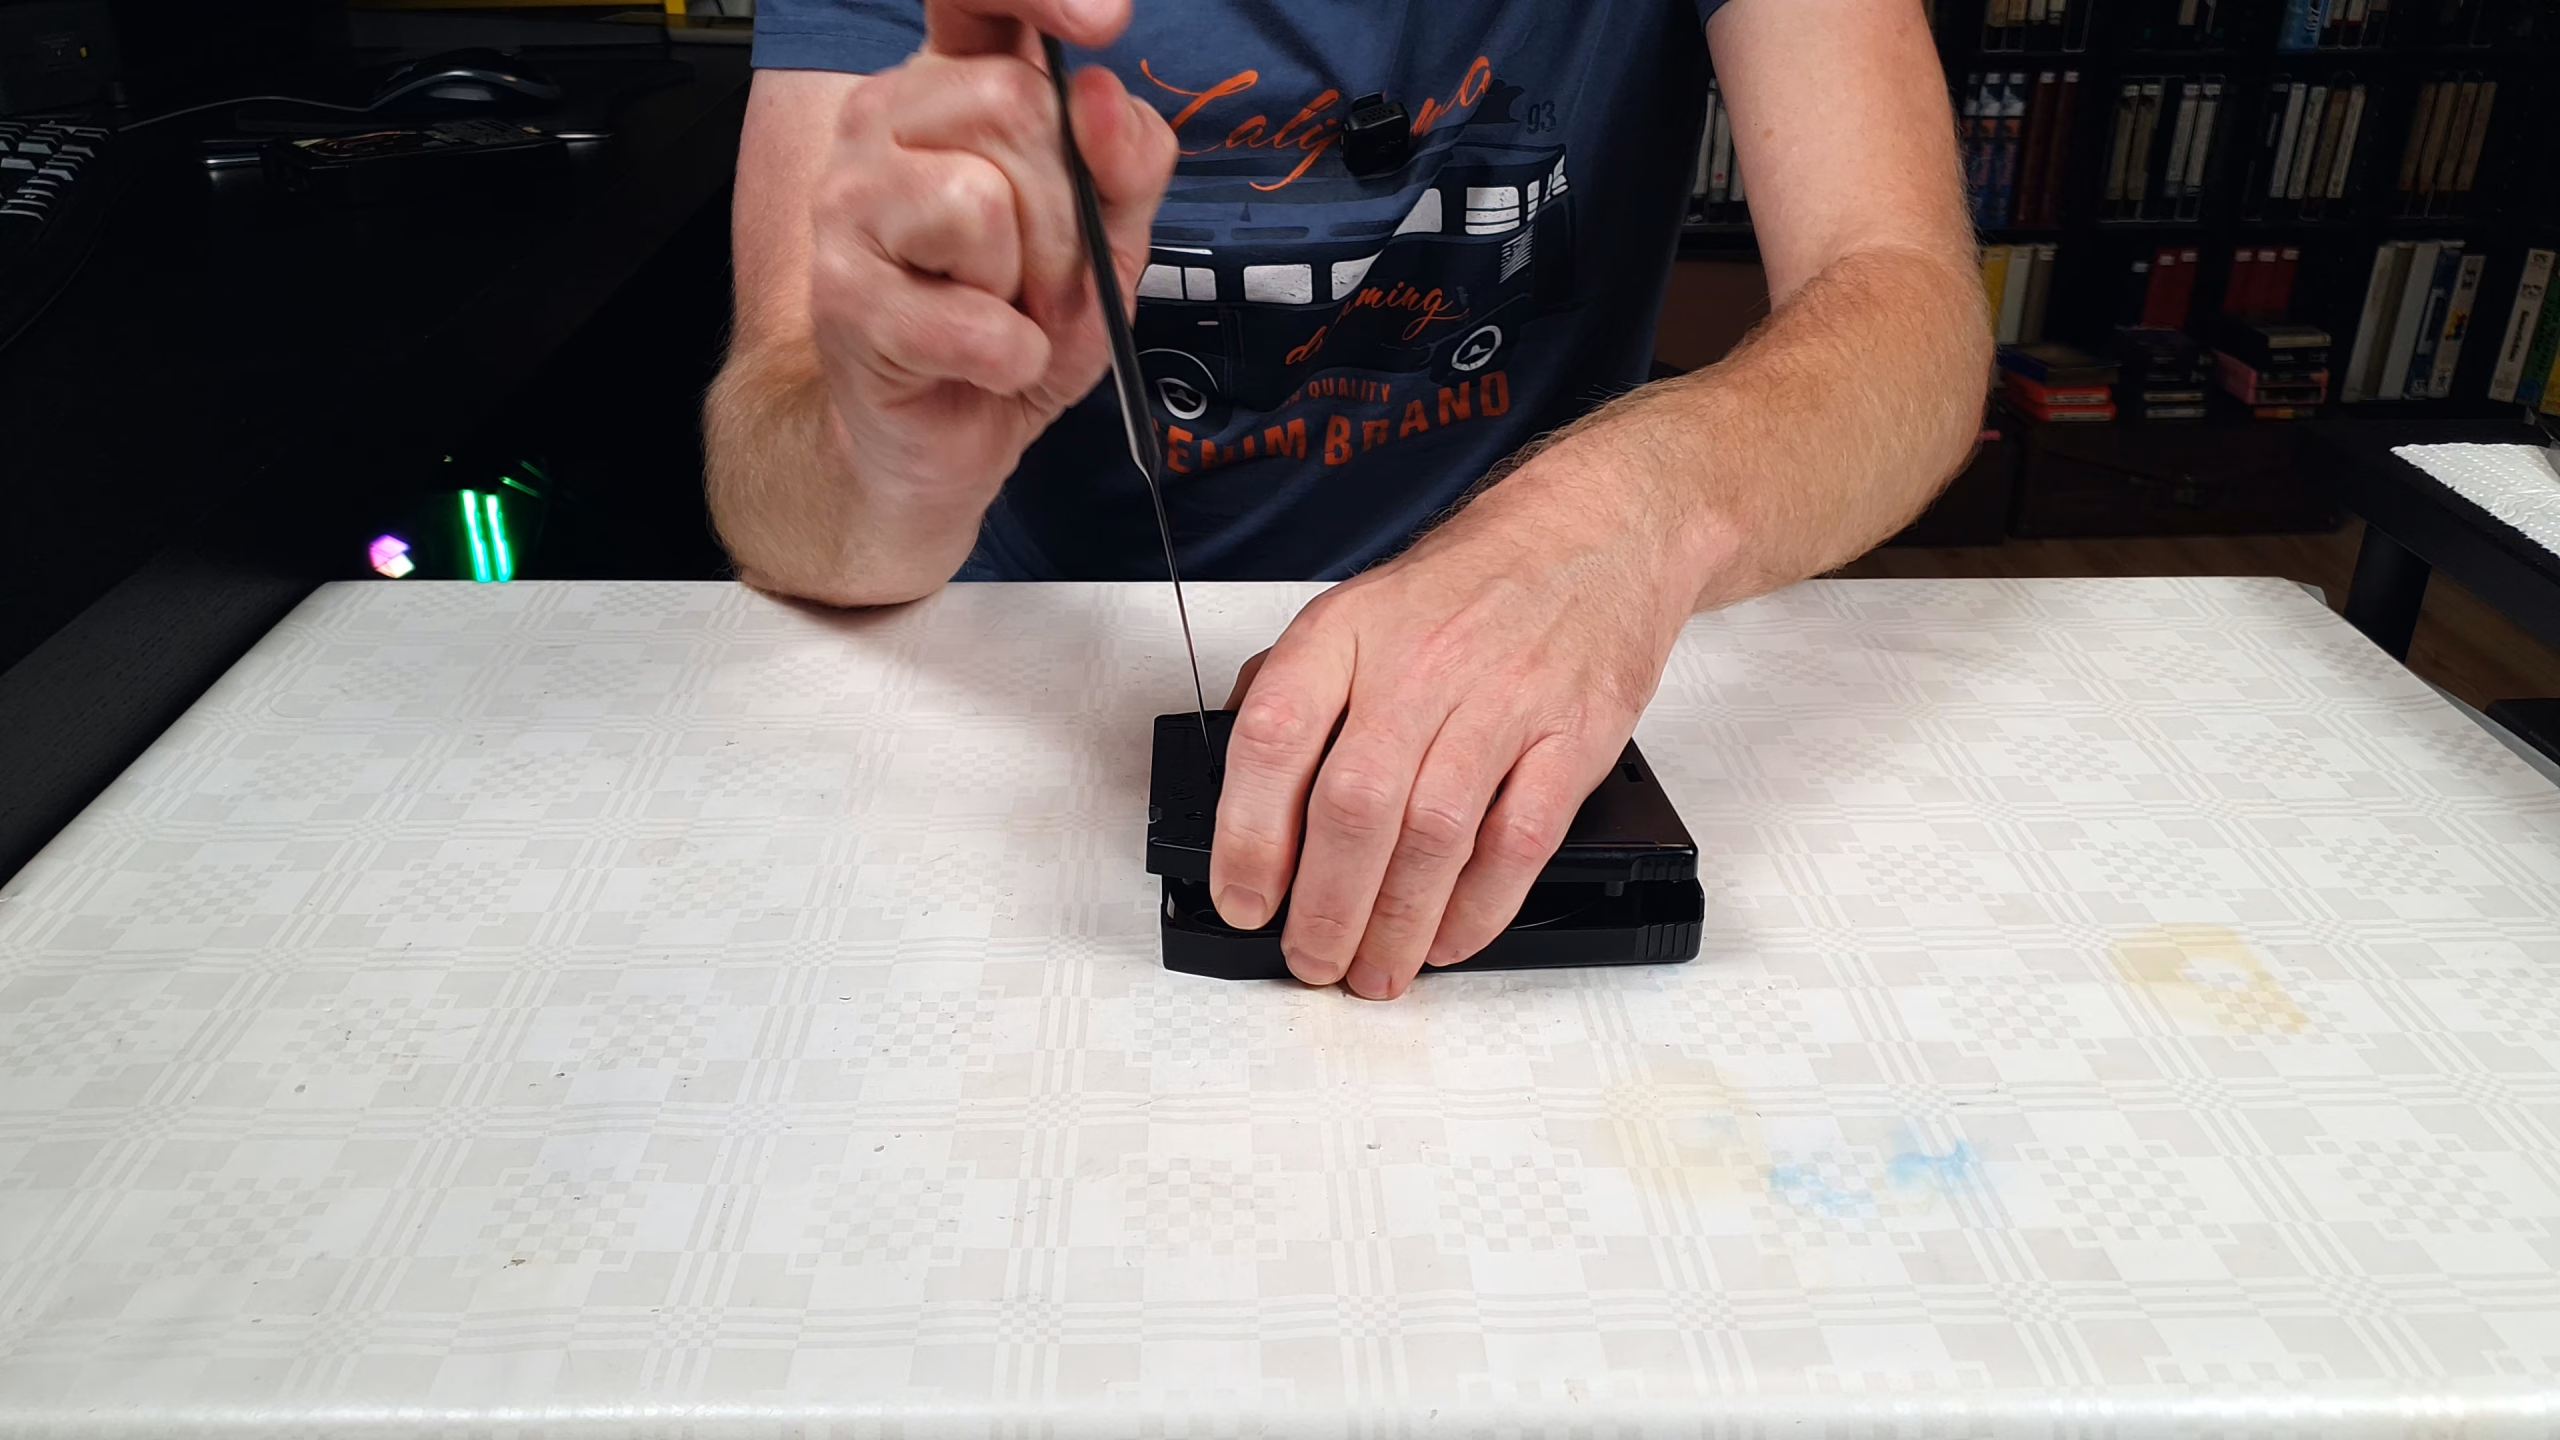
5. Bend the tool upwards here too

6. Loosen the tab
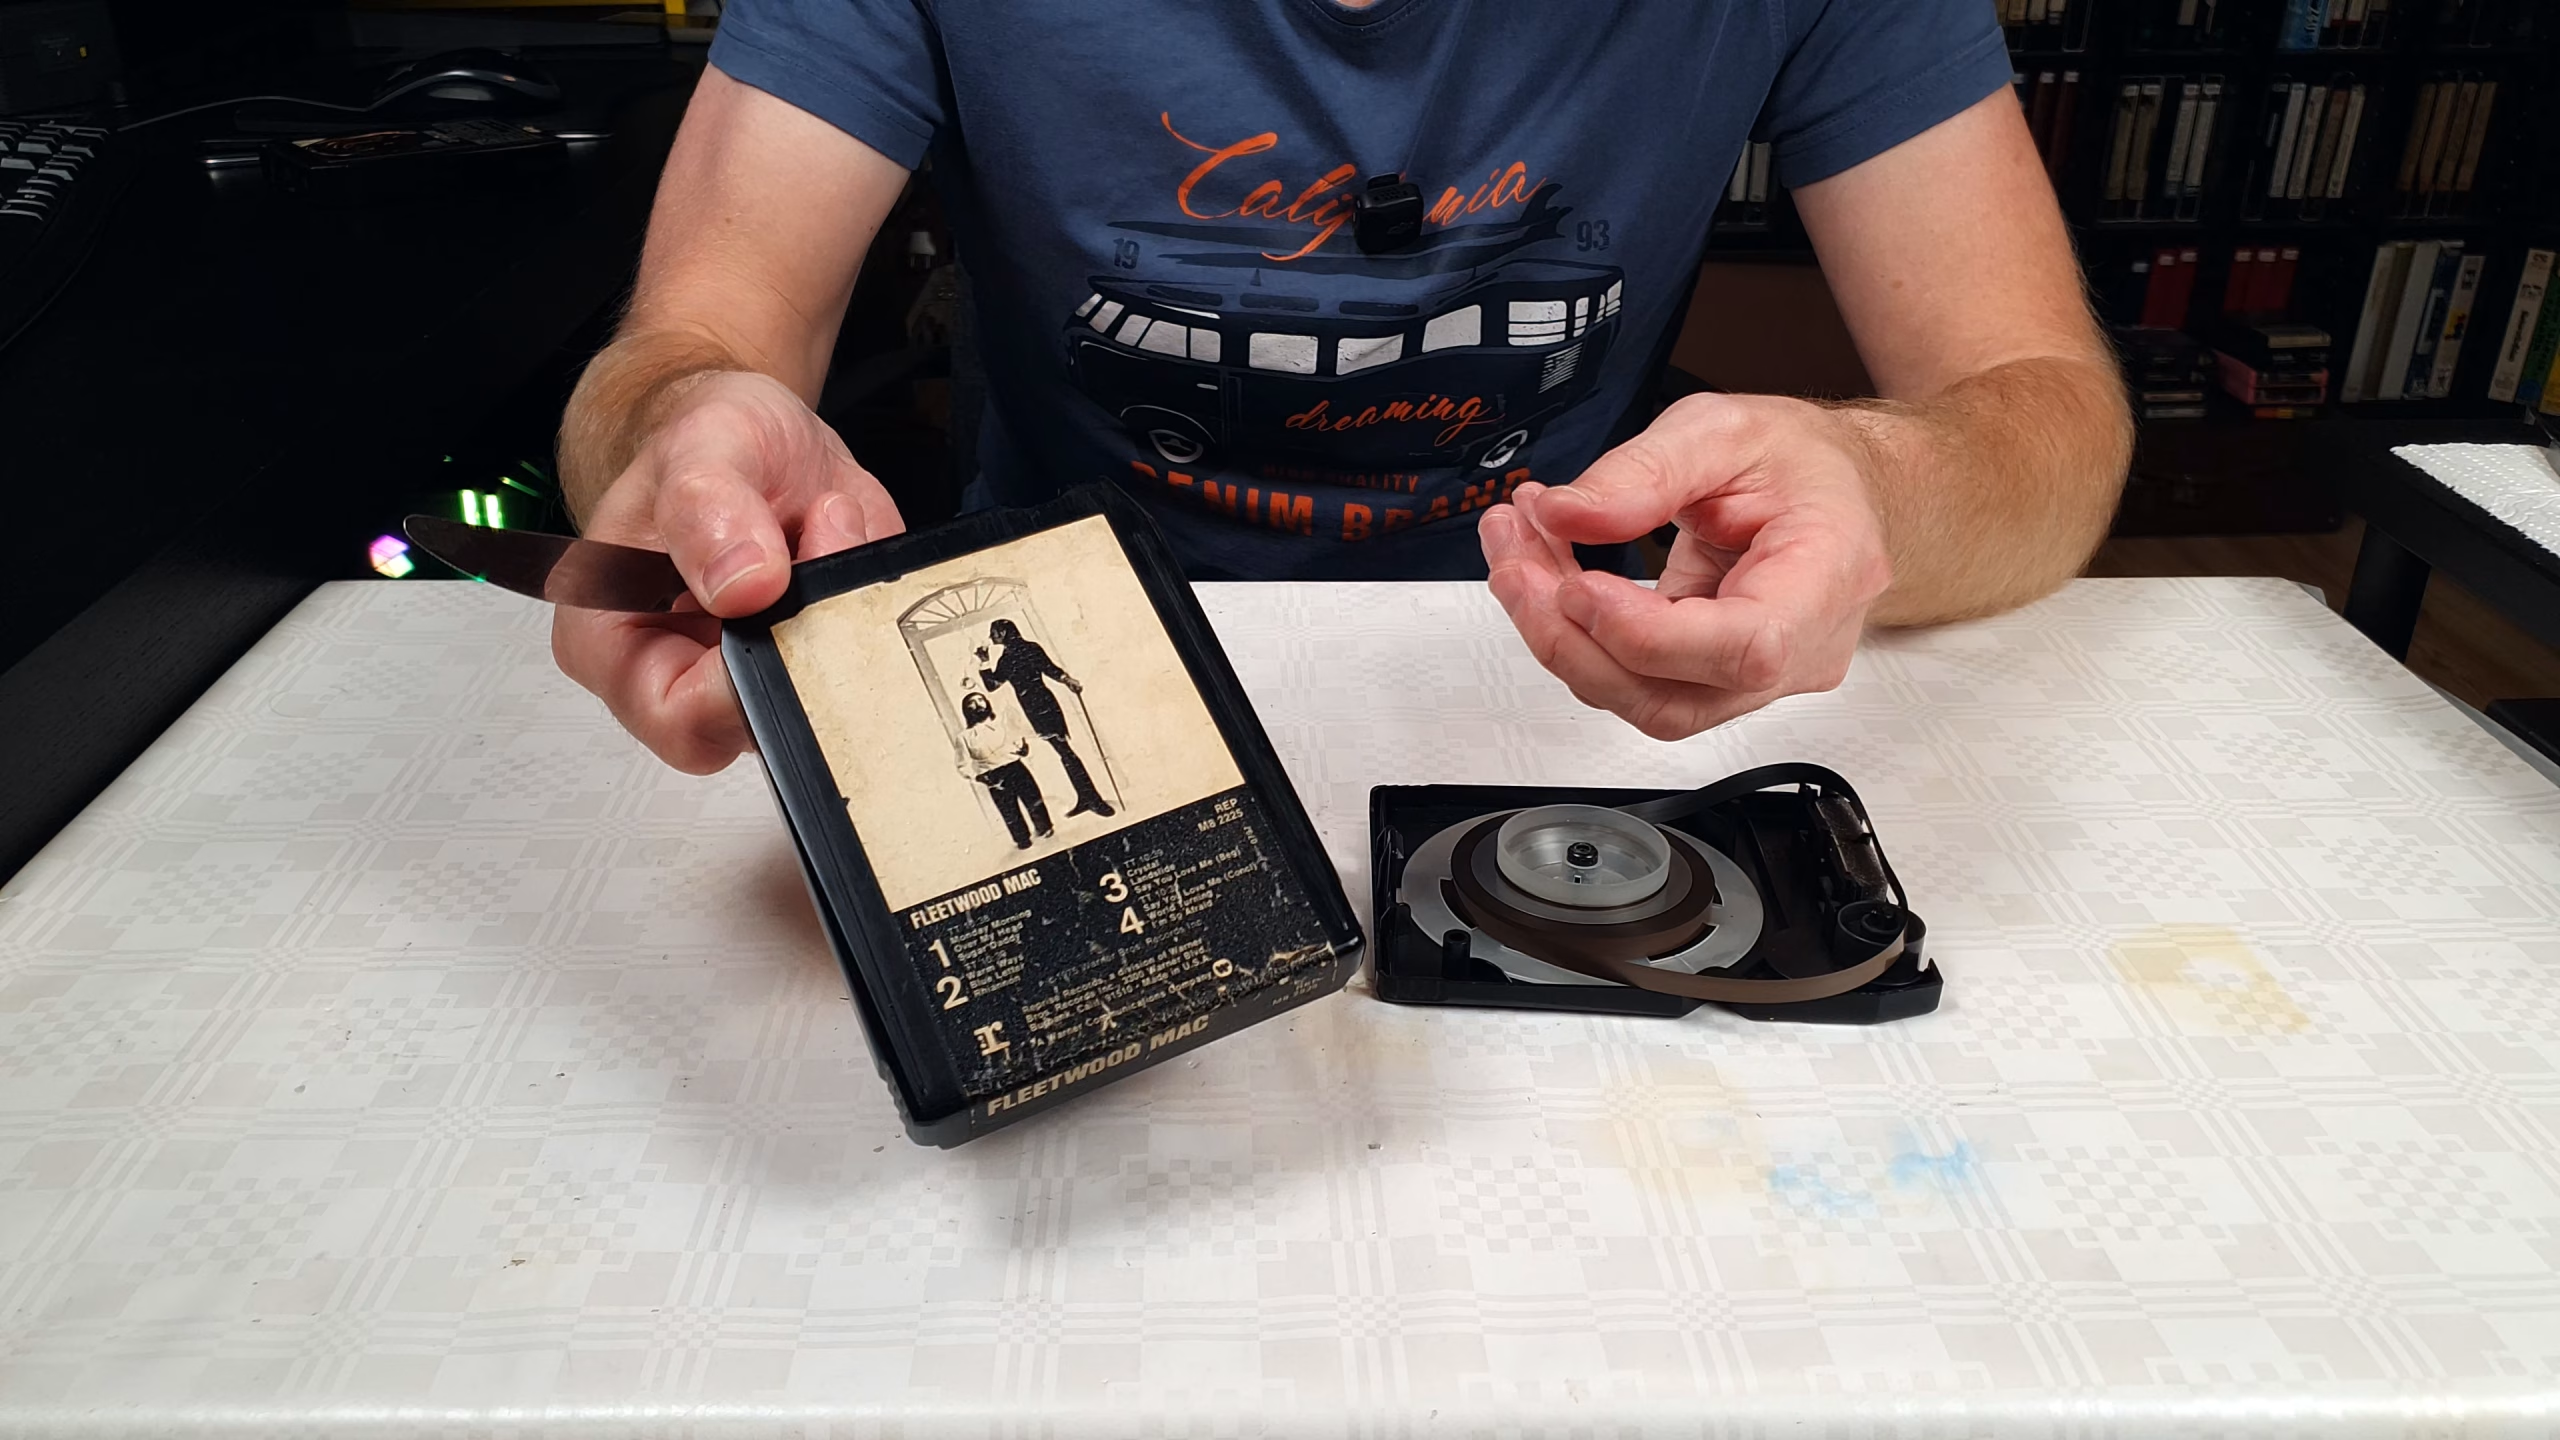
5. Split the cartridge!
Tips and tricks
Practice first on a cartridge that you are not too afraid of at first, the technique requires some practice and it is easy to damage the tab or leave ugly marks around the slot.
- Be careful not to pinch the tape when reassembling the cassette. Line up the parts carefully before pressing them together.
- Don't use too much force - it should be done with even pressure.
- Use good lighting so you can see the tabs clearly.
To reassemble the cartridge: Align the top and bottom parts so they fits perfectly to each other. Then squeeze the cartridge housing together until both clips snap into place.
Happy listening! 🎶☀️