How to change the pressure pad and splice on 8-track cartridges
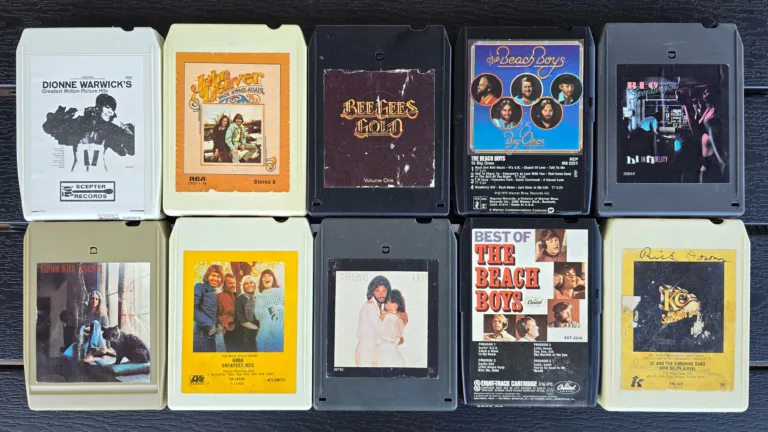
This is the procedure for restoring old 8-track cassettes by replacing the pressure pad and metal tape (also called "splice"). First, start by identifying what type of cassette you have and familiarizing yourself with how to open it without causing unnecessary damage to the cassette housing/cartridge or tape. Start by opening the cassette. Then remove the old pressure pad. Remember to order new pressure pads at Torget.
- Detach the old pressure pad from the plastic plate. Use a piece of cardboard, for example, to scrape away the old pressure pad.
- Clean the plastic plate with rubbing alcohol and a cotton swab.


- Stick a new adhesive pressure pad to the plastic piece
- Cut a slit in the middle of the pressure pad
- Reinstall the new pressure pad into the cartridge housing.


With a new pressure pad, the sound quality will be much better and with new metal tape, the risk of tape salad will be significantly reduced..
Tor-Atle Kindsbekken
Also replace the metal tape
For metal tape (also called splice) you can use Biltema's aluminum tape with item no. 29-650
- Find the place on the tape where the tape is joined with a metal tape
- Cut the tape at the metal tape
- Place both ends of the tape on top of each other and cut the tape diagonally with scissors.
- Make sure both ends fit together perfectly


- Cut a large enough piece of metal tape, e.g. about 2 X 2 CM
- Place the metal tape on the table with the adhesive side up.
- Stick one end of the ribbon down onto the metal tape
- Then try to glue the other end down right next to the first end, but without overlapping.


- Then check that the joint is tight and nice, without too much gap in between and without overlapping.
- Then cut away the excess metal tape with sharp scissors.


If anything is still unclear, you can watch a detailed video showing the entire process here.