Step by Step: Repairing the Cracked Plastic Head Mount Bracket on an 8-Track Player
This is a thorough walkthrough of how to repair the plastic bracket that holds the sound head on 8-track players with the infamous plastic construction. In this example, we are working with a Realistic TR-169 player, but the procedure is largely the same on all players with a similar mechanism.
This process can also be used preventively – even on healthy brackets that haven’t cracked yet. Reinforcing with wire helps strengthen the bracket and reduces the risk of future damage.
Tor-Atle Kindsbekken
Procedure
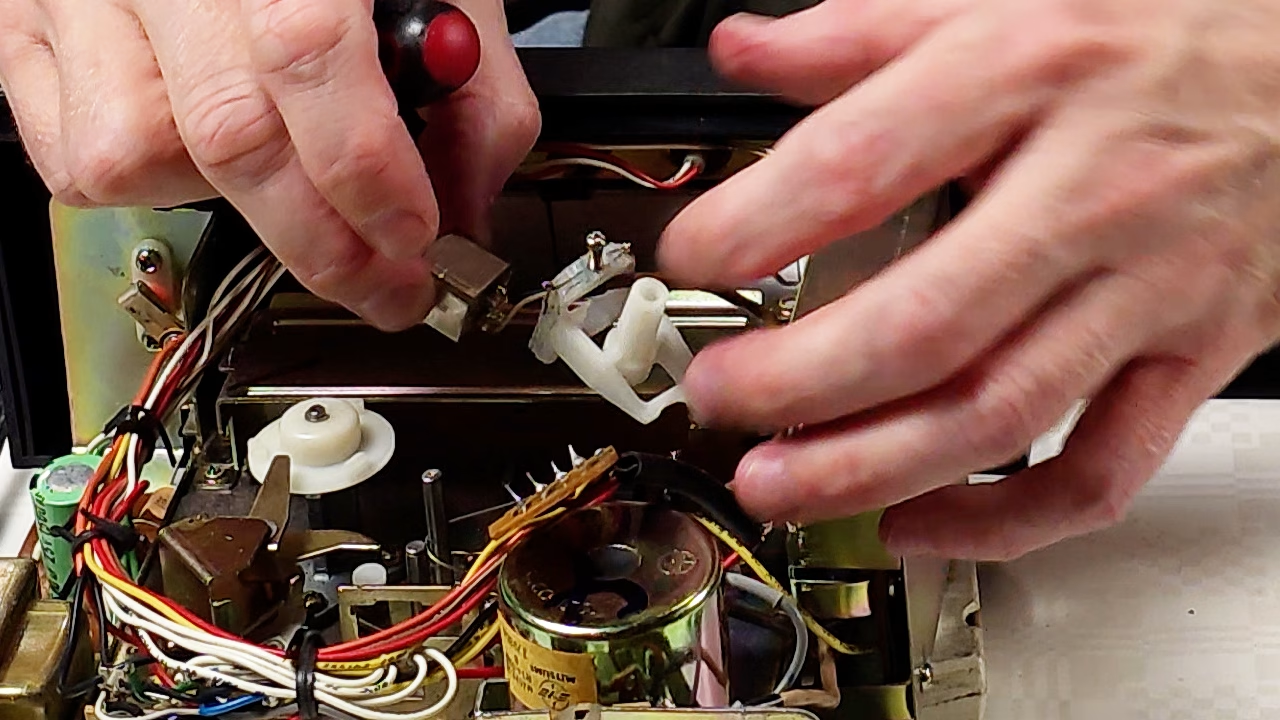
Disassembly:
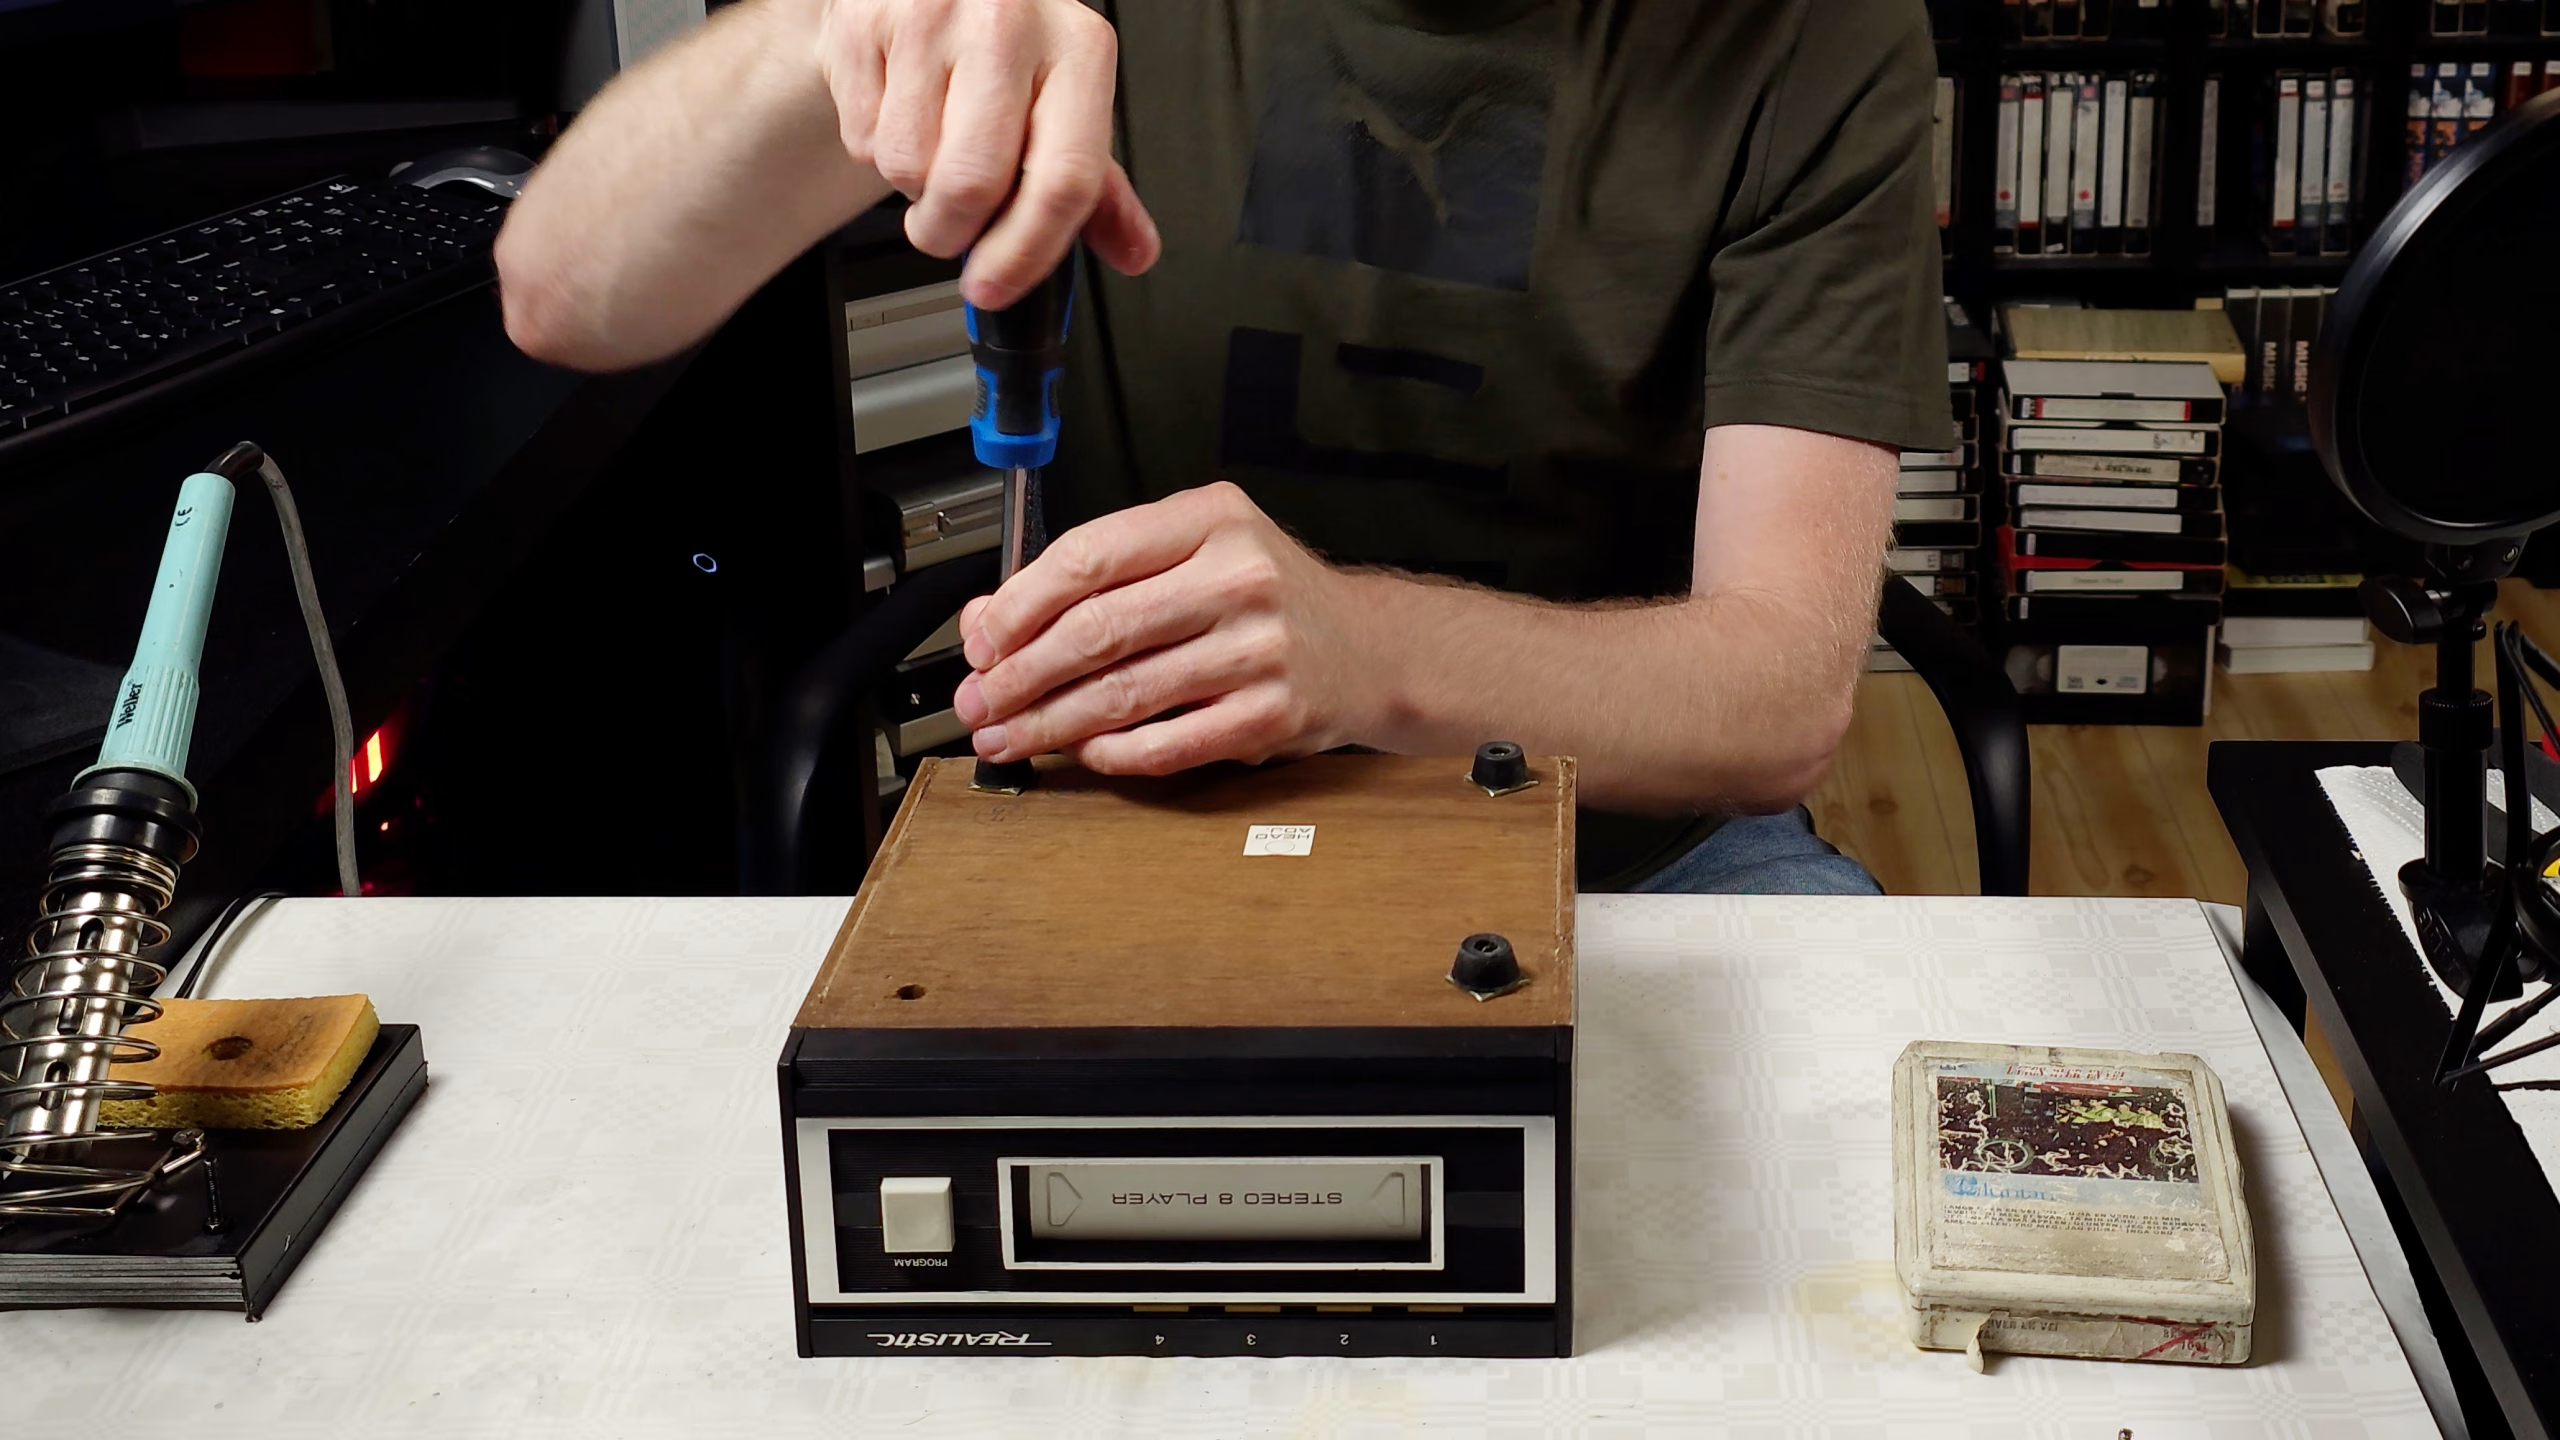
- Remove the feets to open the player
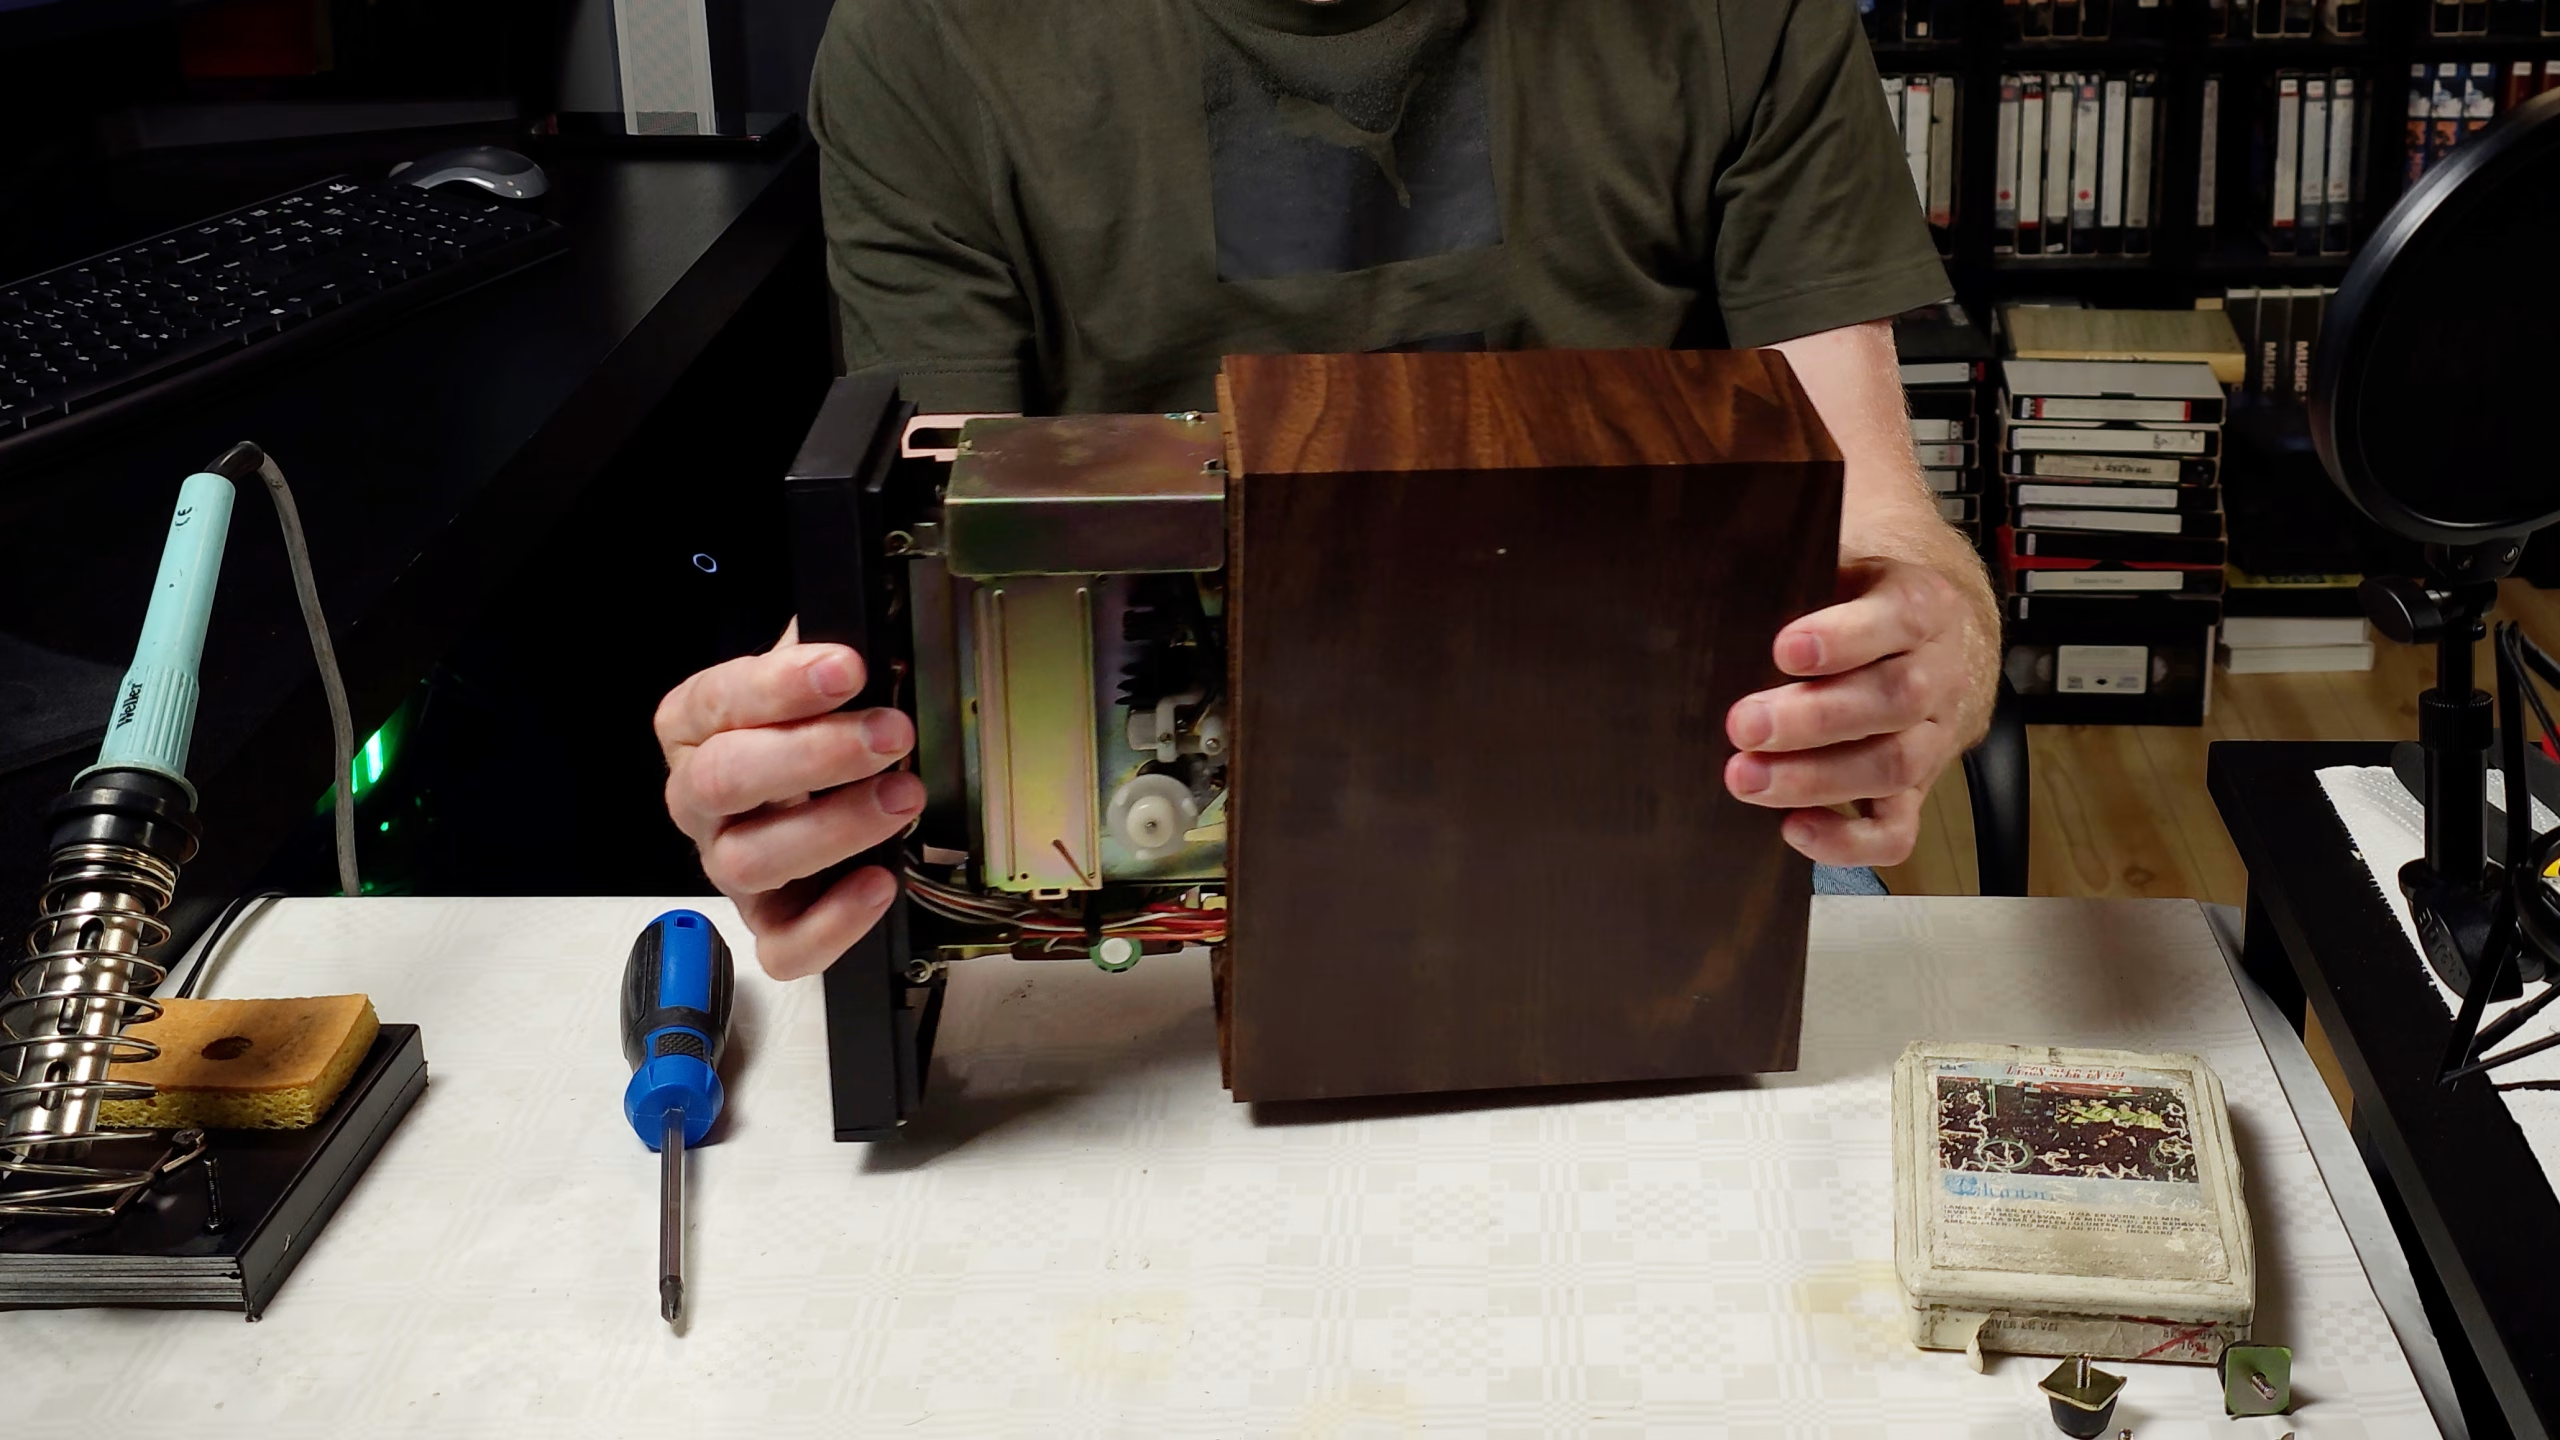
- Slide off the cover by pulling the front out of the chassis.
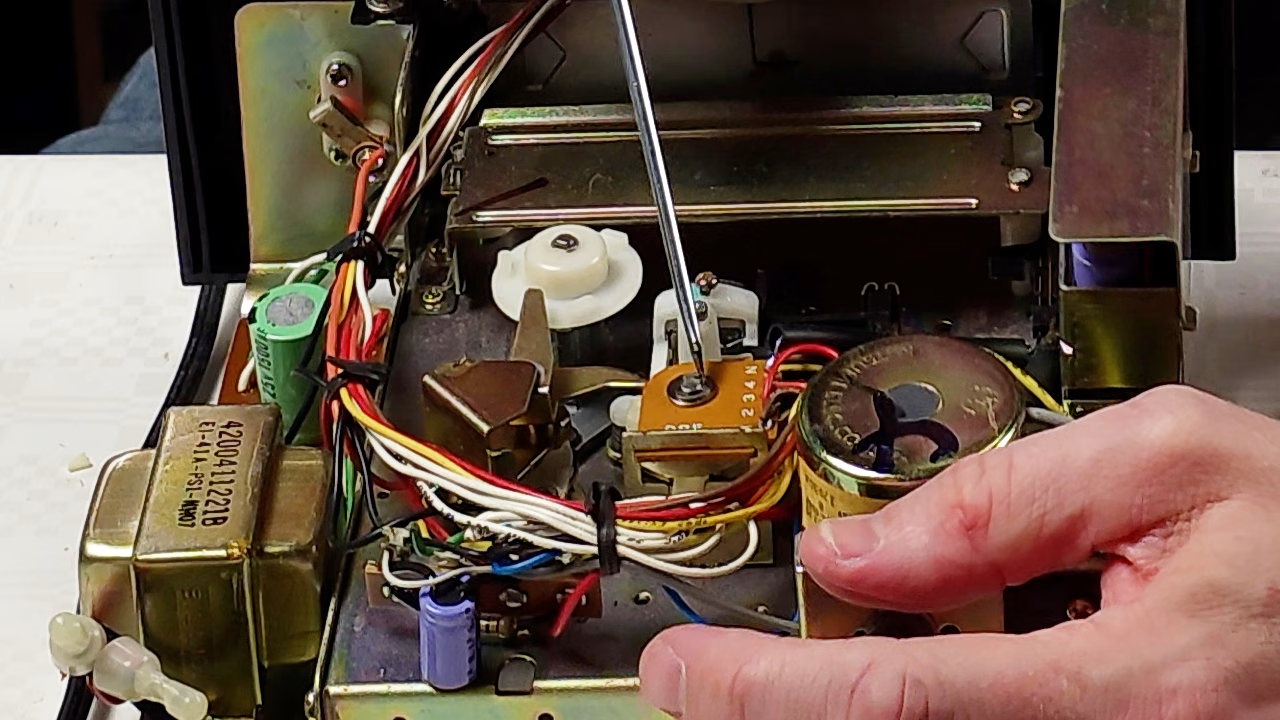
- Remove the E-clip ring and washer
- Lift out the small brown circuit board
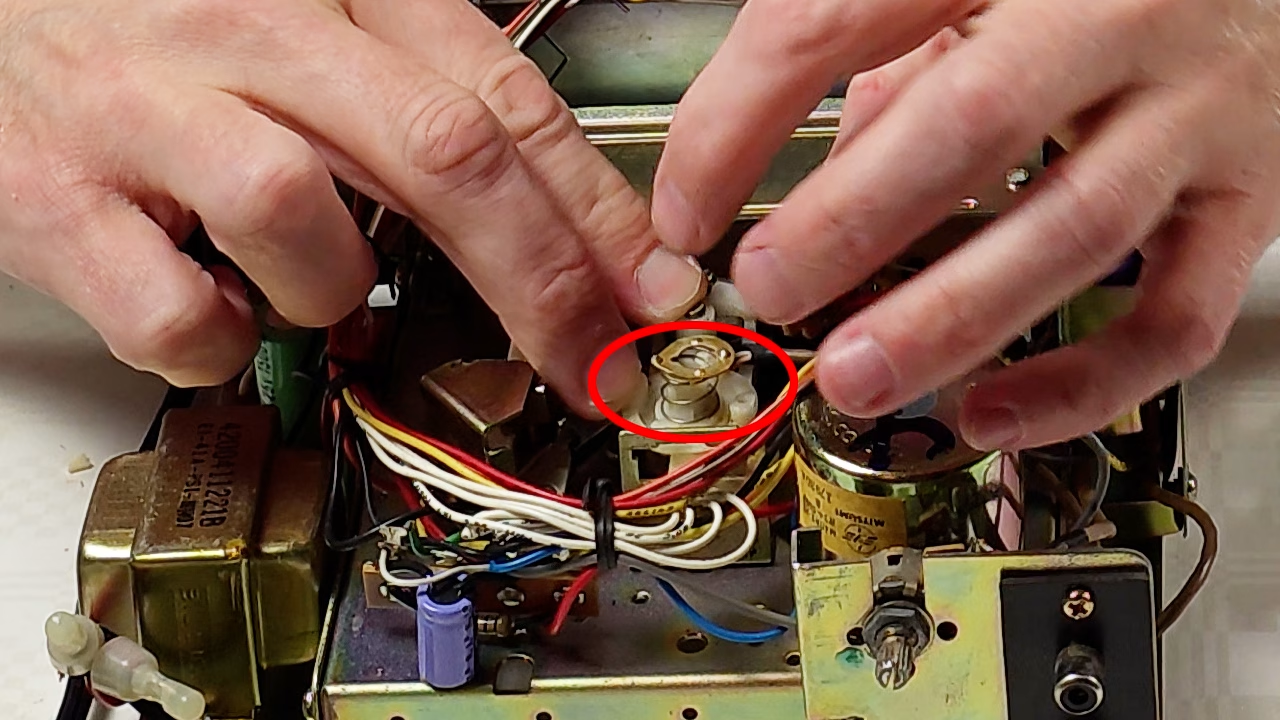
- Remove the metal ring and spring beneath it
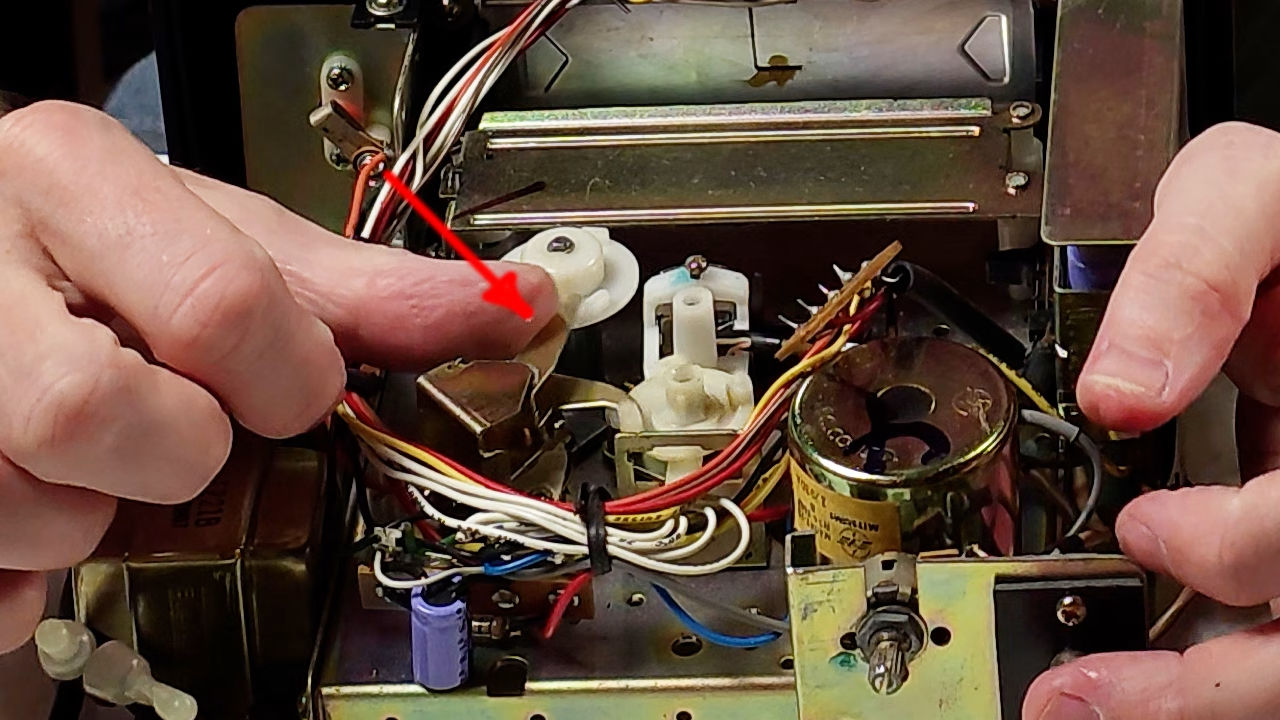
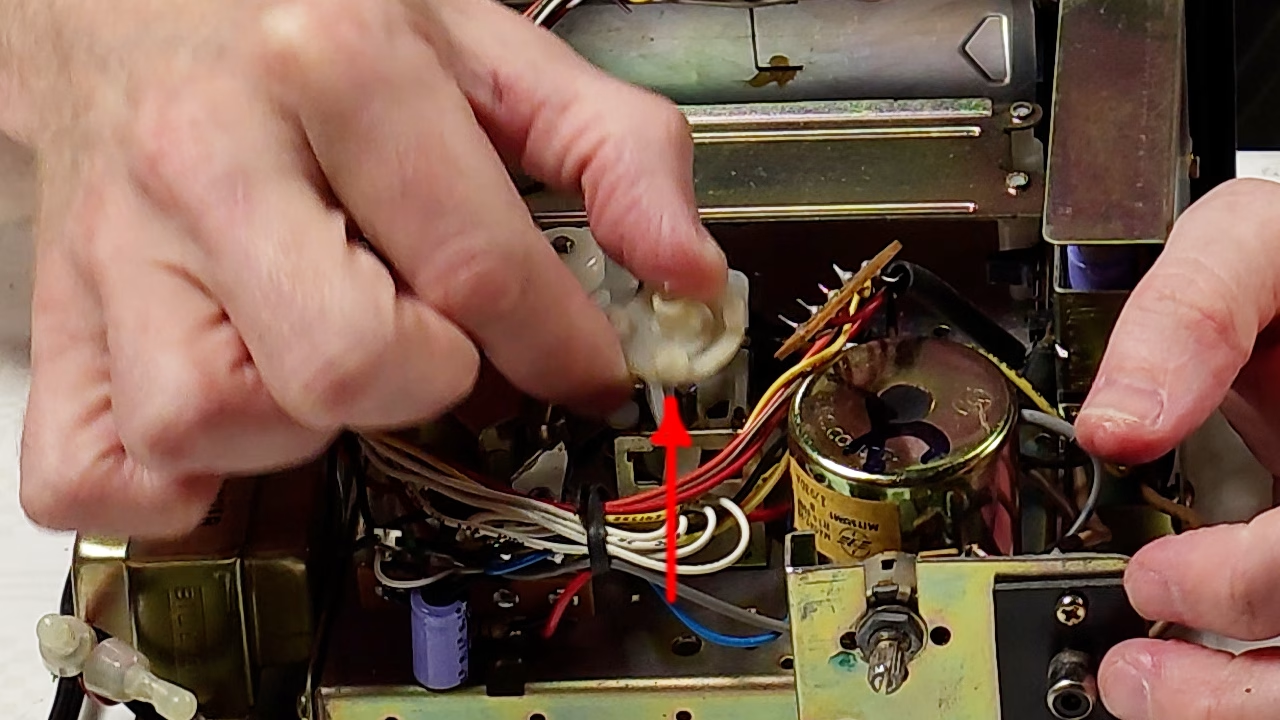
- Swipe the track change motor in the direction shown by the arrow
- Lift off the white plastic gear
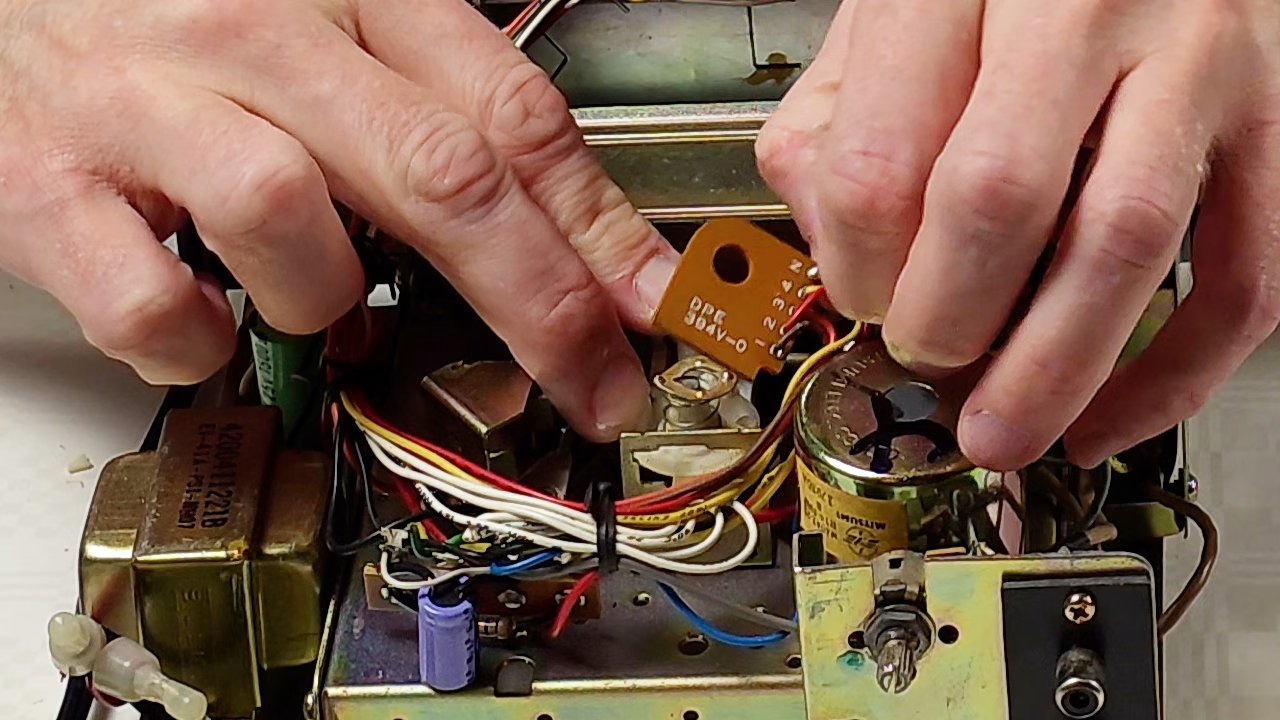
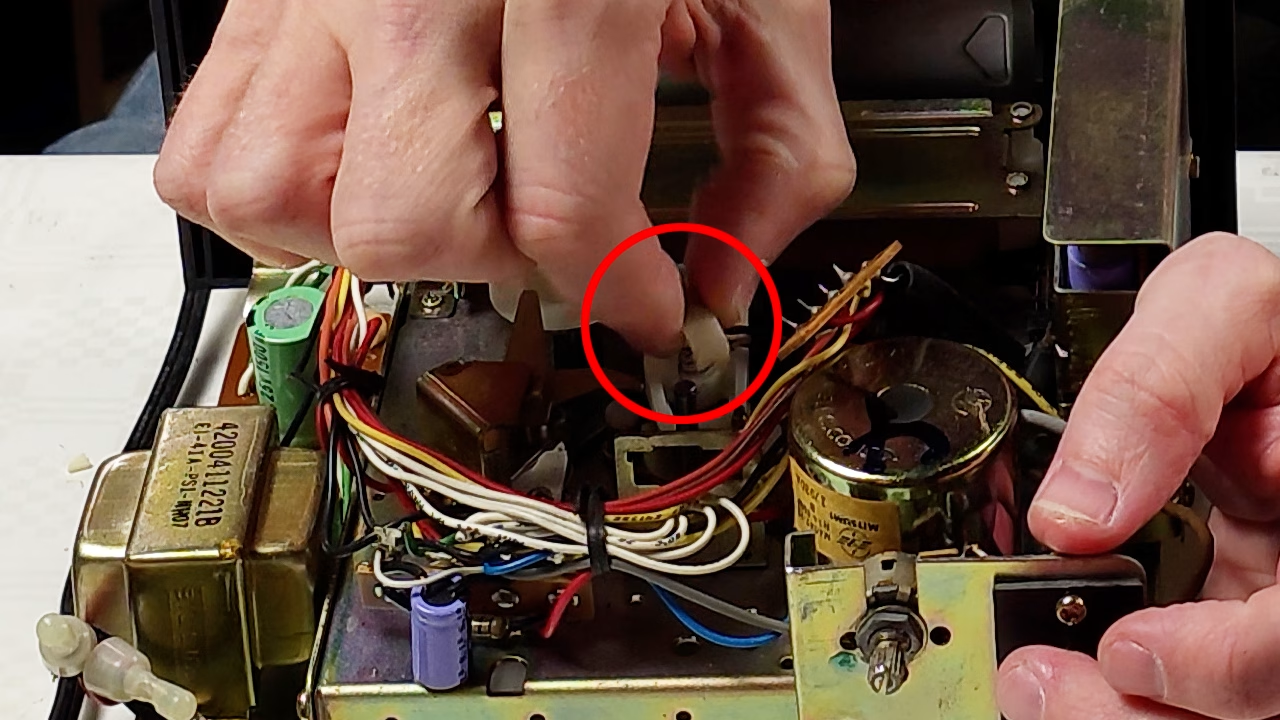
- Remove the angled white plastic clip and the spring at the bottom
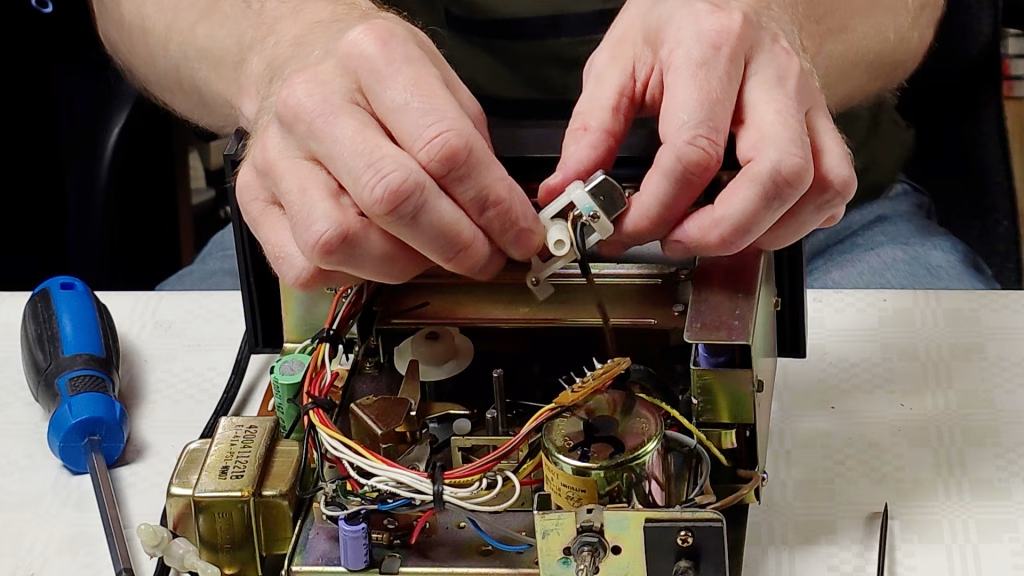

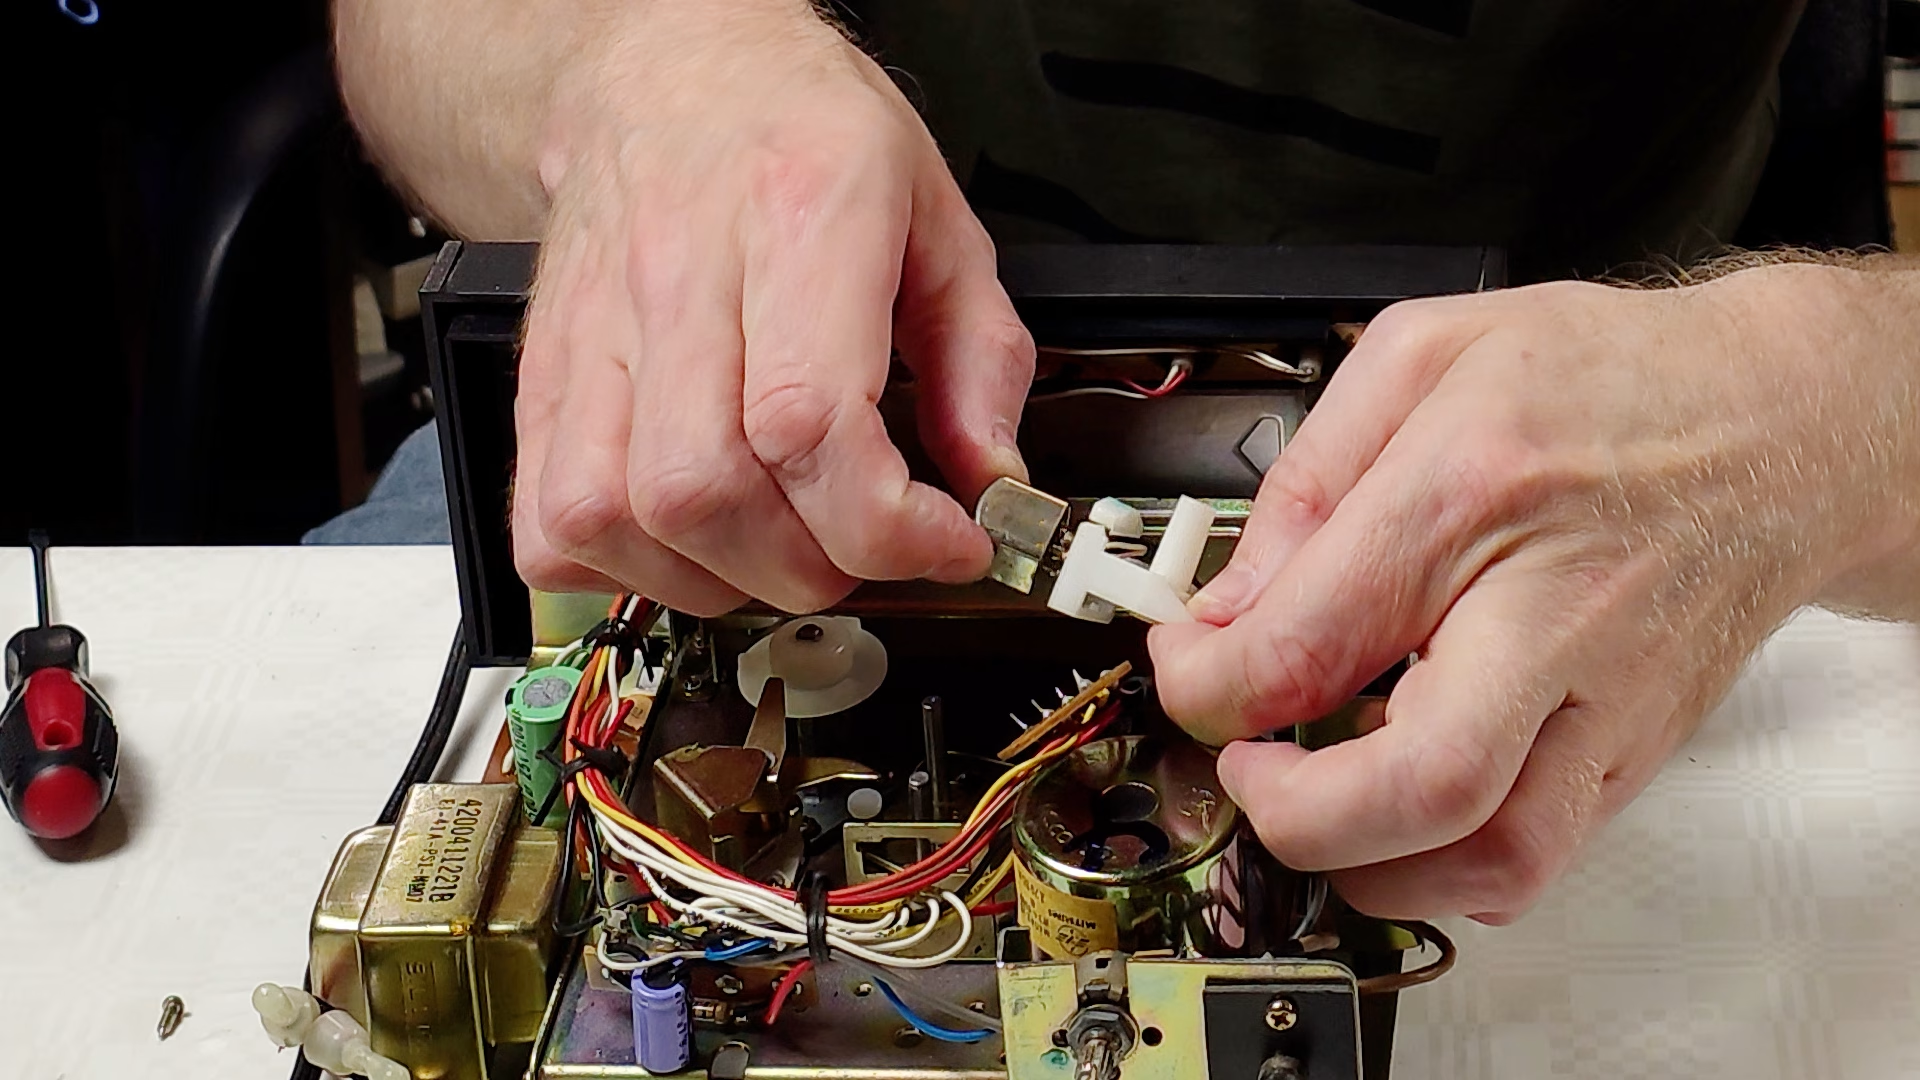
- Carefully remove the entire plastic bracket holding the playback head
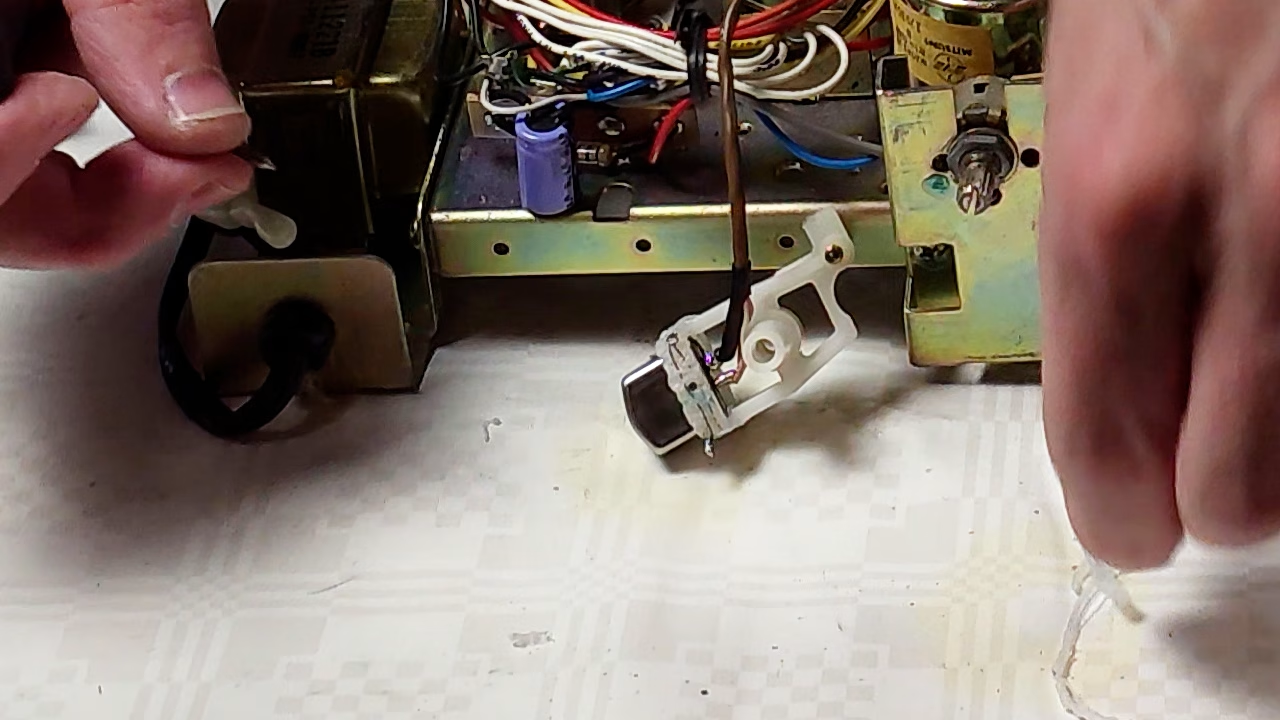
- Unscrew the screw securing the sound head and remove the sound head from the bracket.
Reinforcement with steel wire:

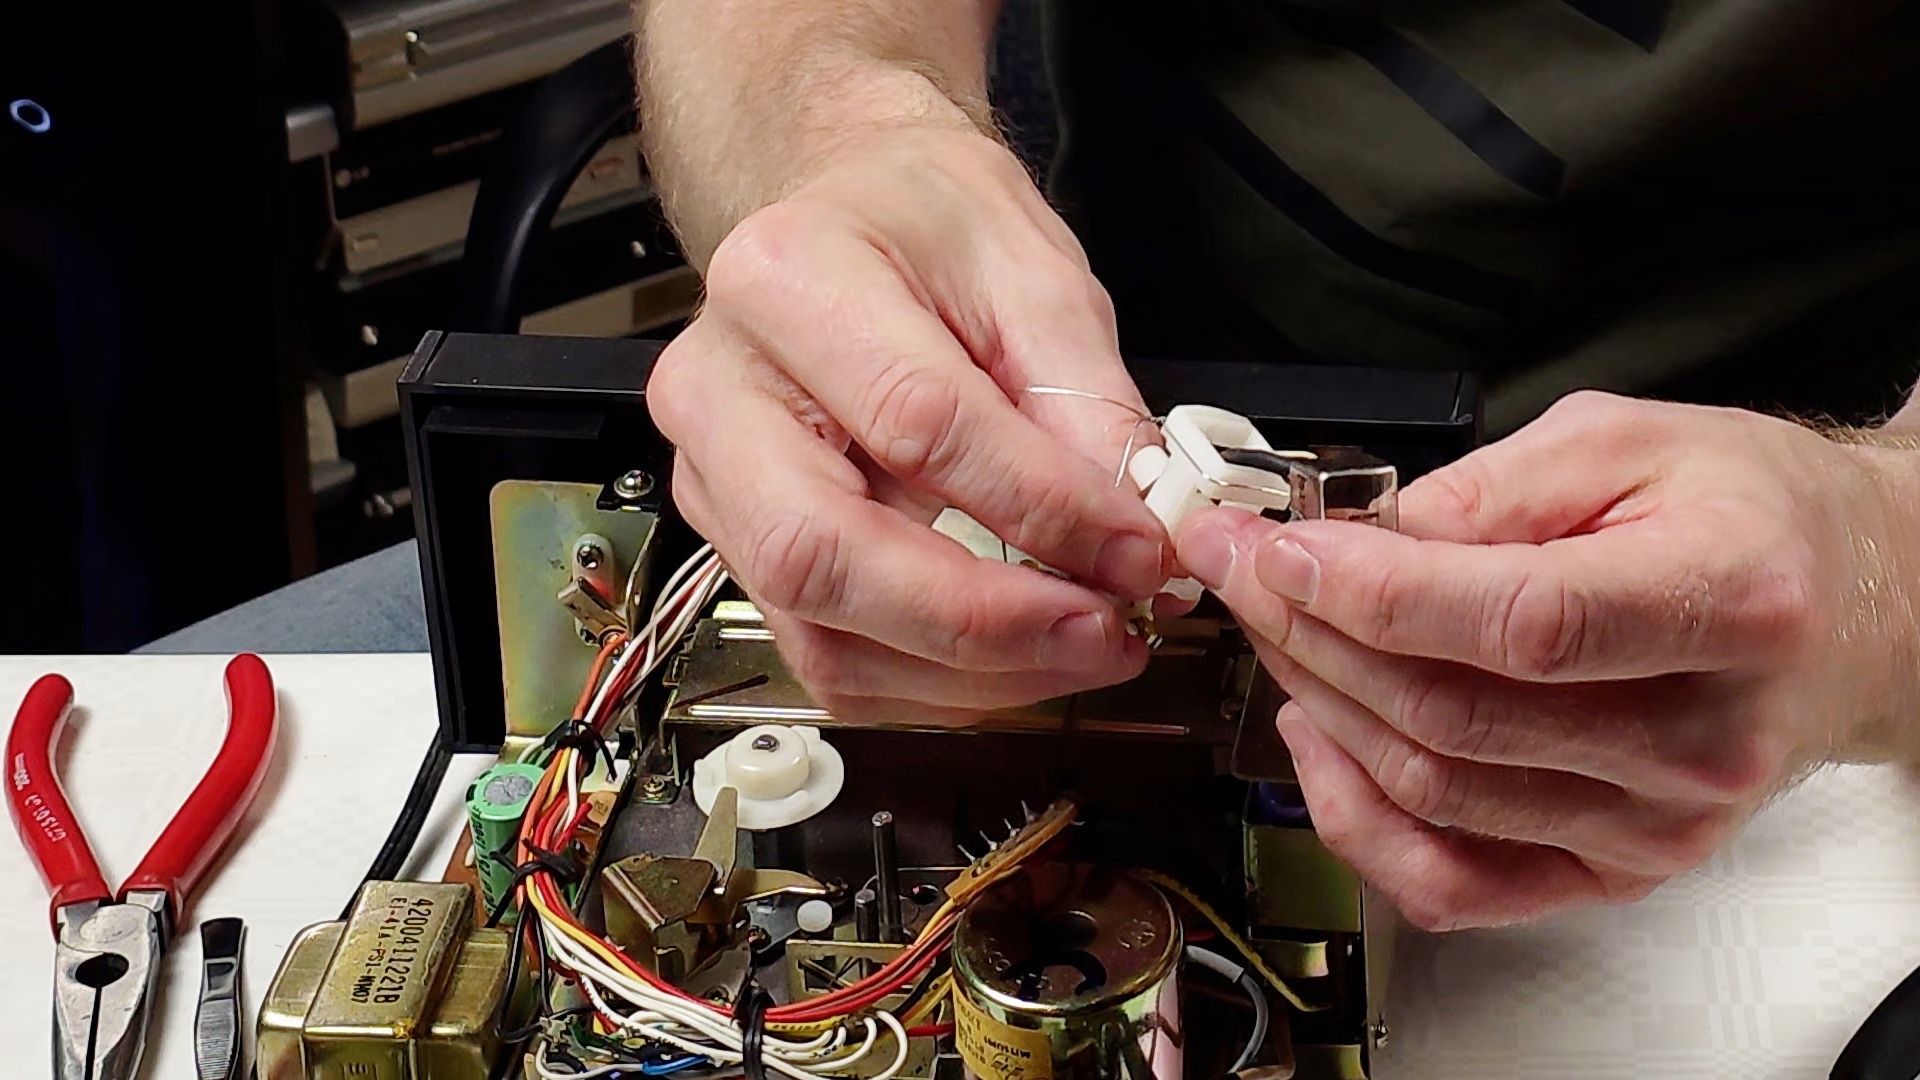
- Wrap a thin steel wire around the plastic bracket and twist it into a “knot” in one corner
- Make sure the wire does not cross the screw hole — it must run alongside it
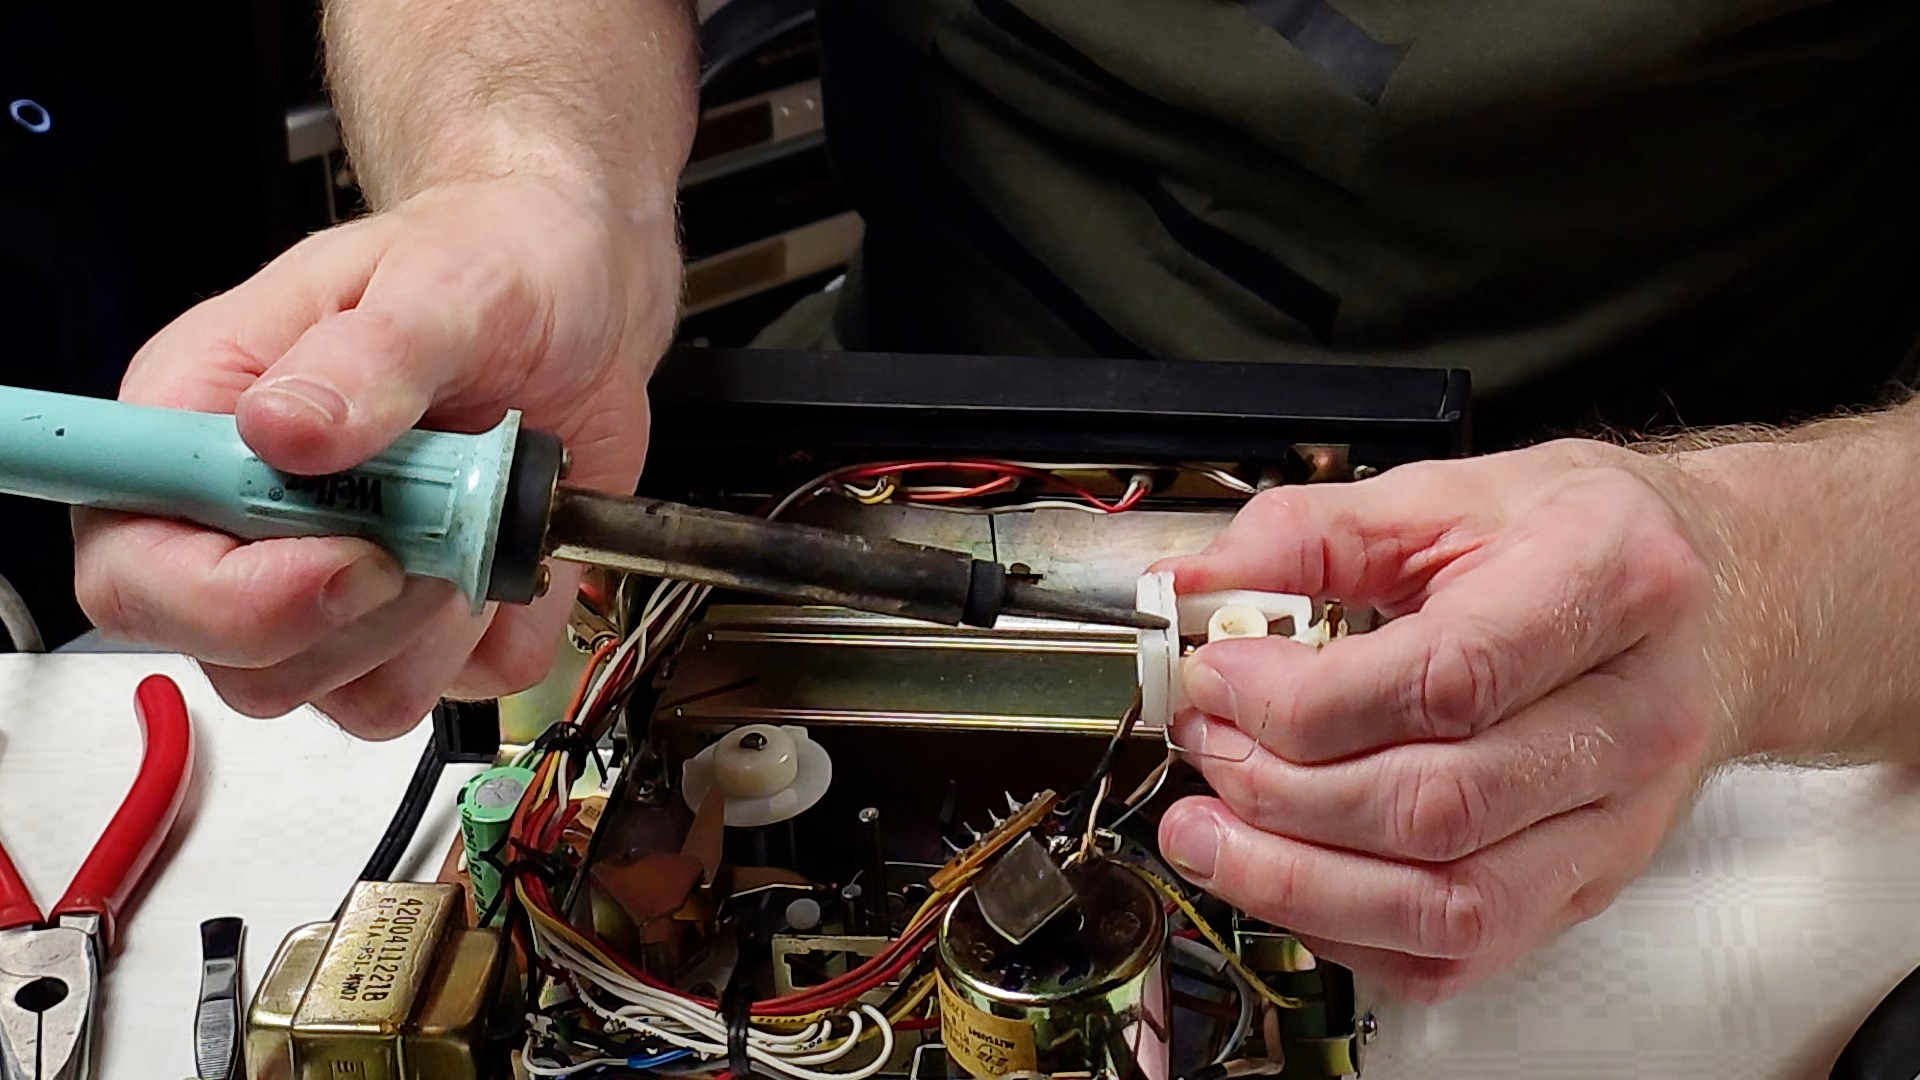
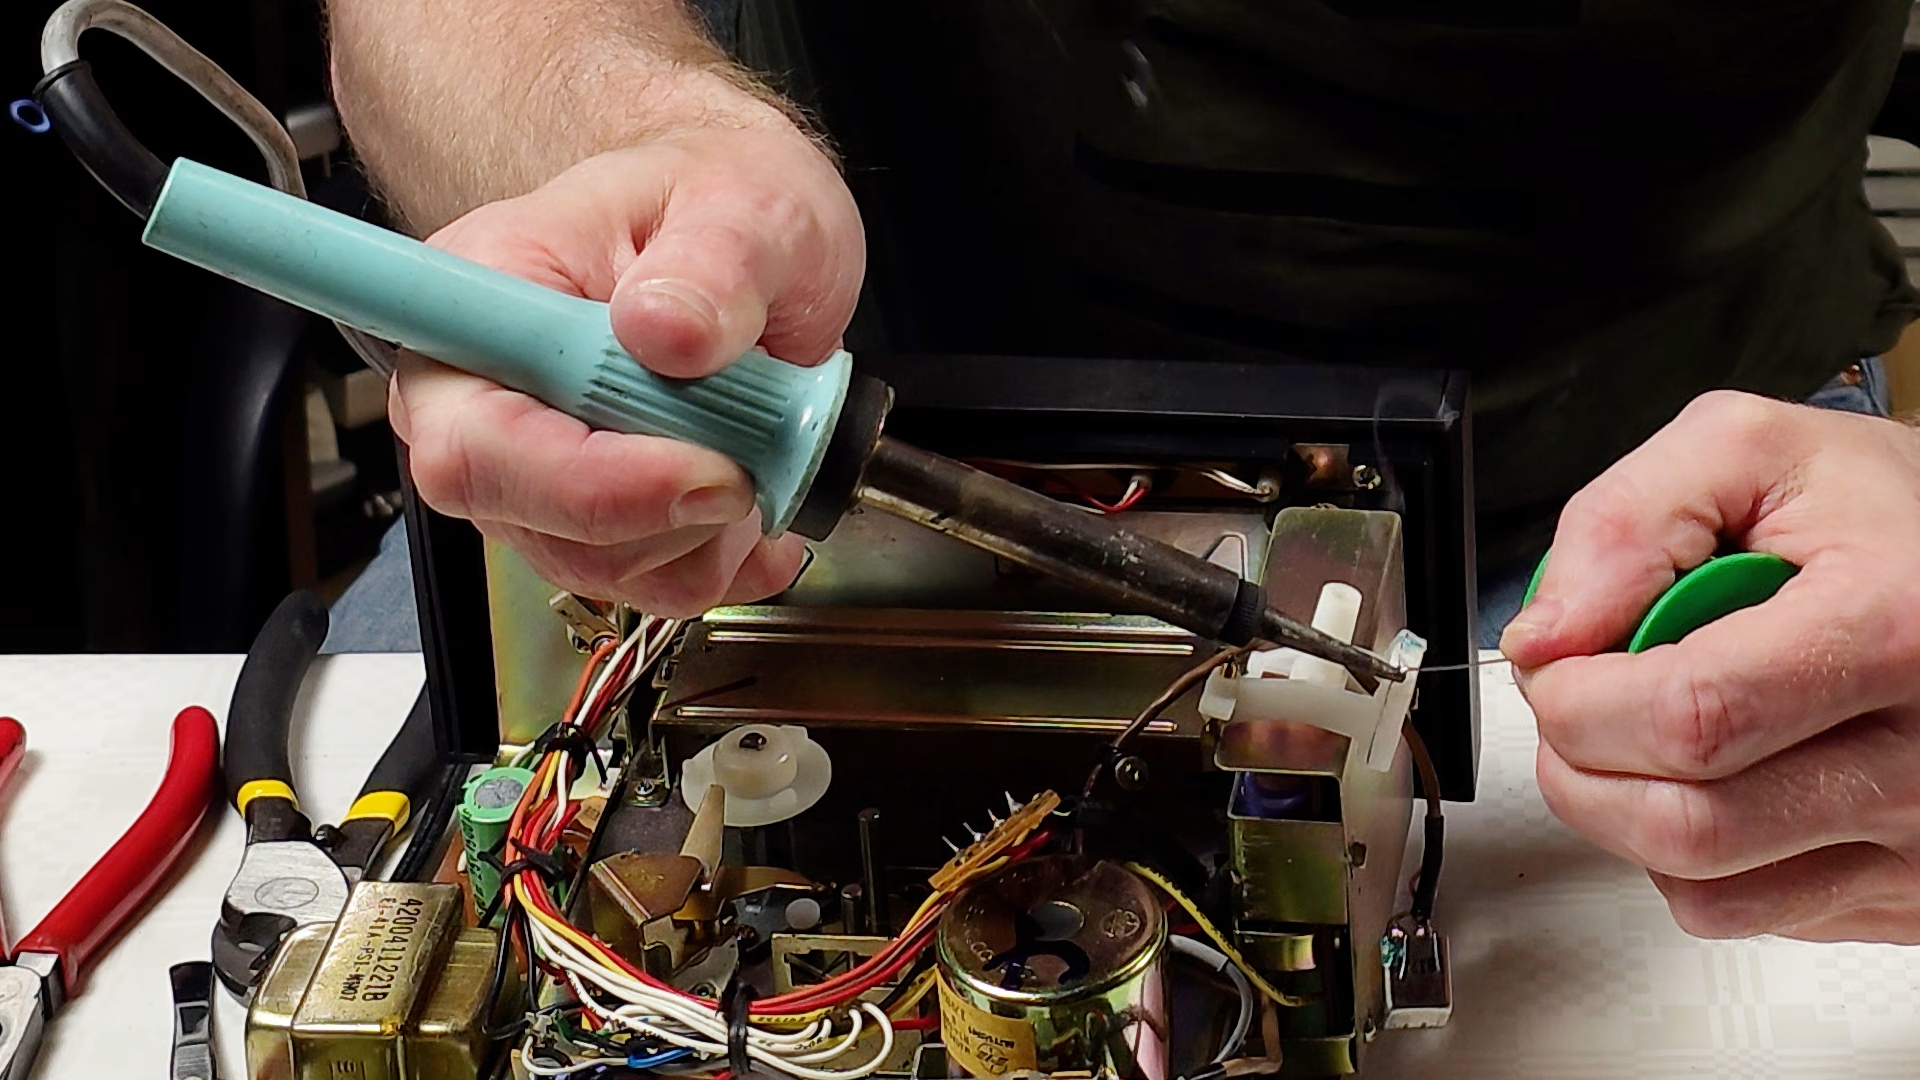
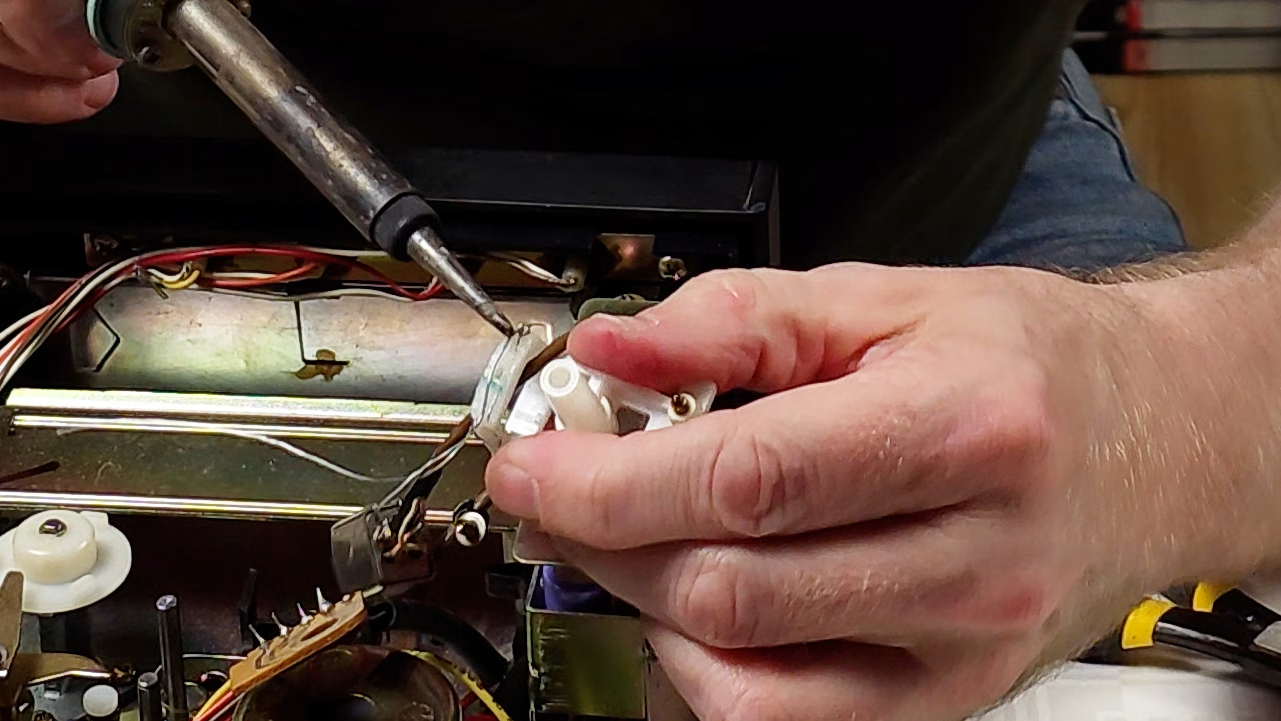
- Use a soldering iron to gently melt the wire into the plastic
- IMPORTANT: Be very careful around the screw hole. Avoid letting the soldering iron deform the plastic, and make sure the wire doesn’t block or interfere with the hole
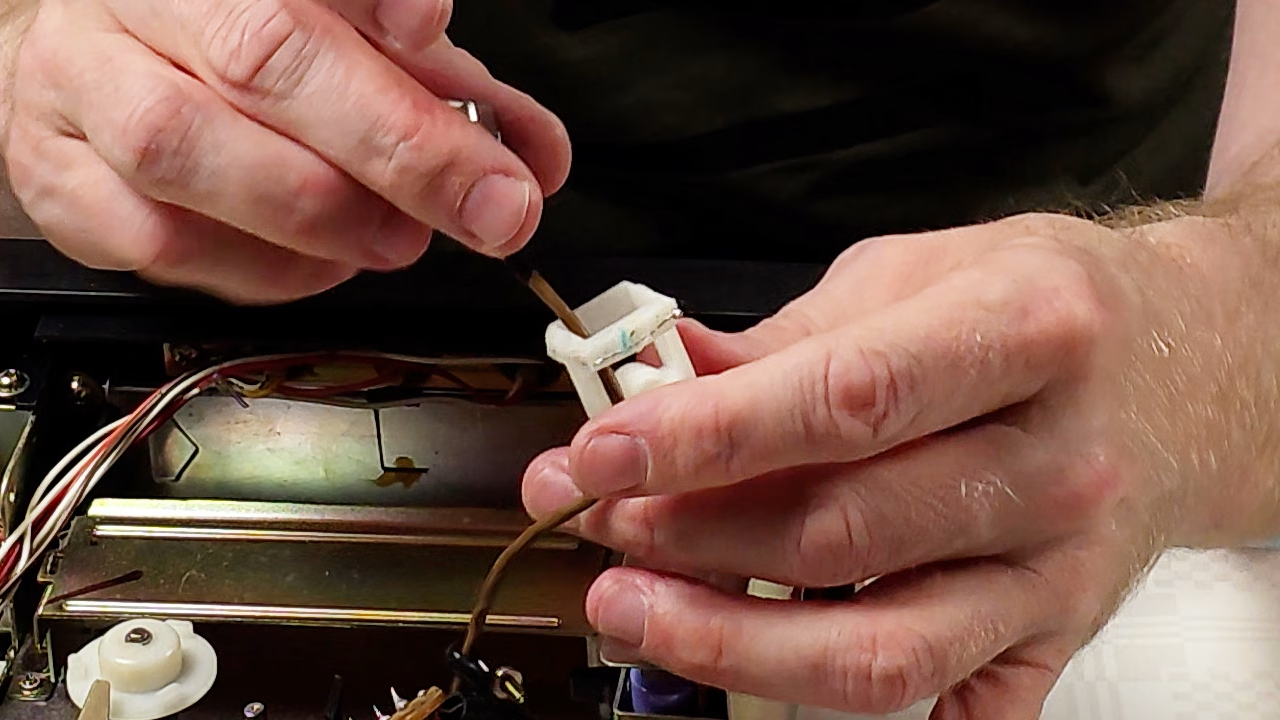
- Tighten the knot with pliers as you go, to keep the wire under tension
- Once in place, add a drop of solder onto the knot to hold it in place
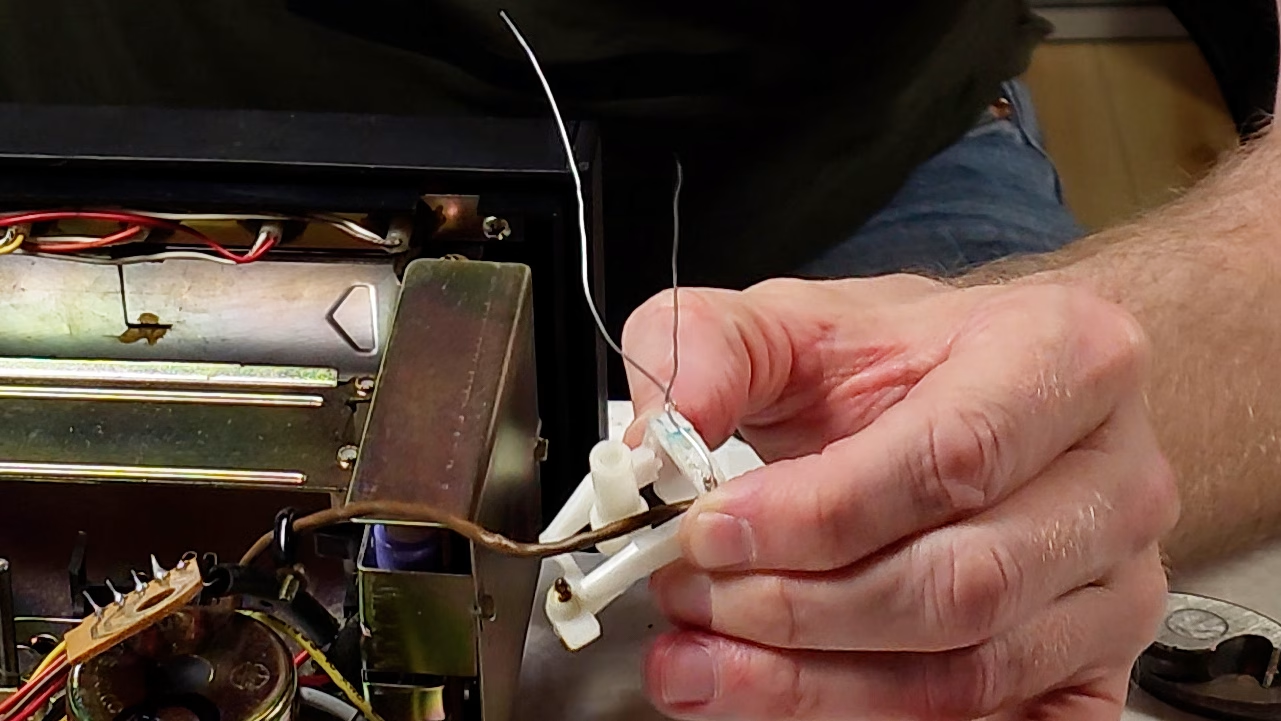
- Repeat the process with a second wire on the opposite side of the screw hole
- Once again: ensure that neither wire crosses over the hole — each should stay on its own side of the hole
Reassembly and Final Result:
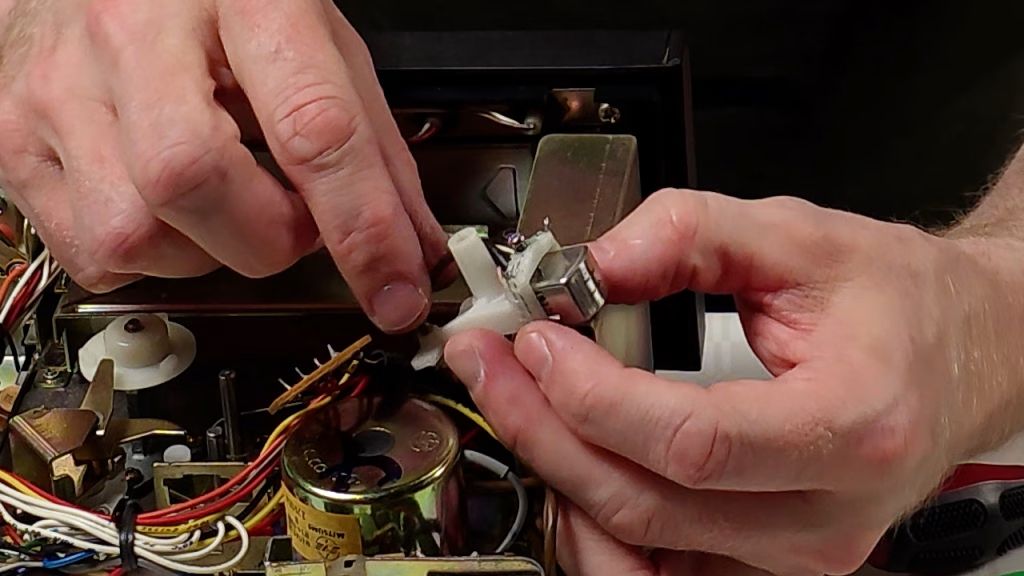
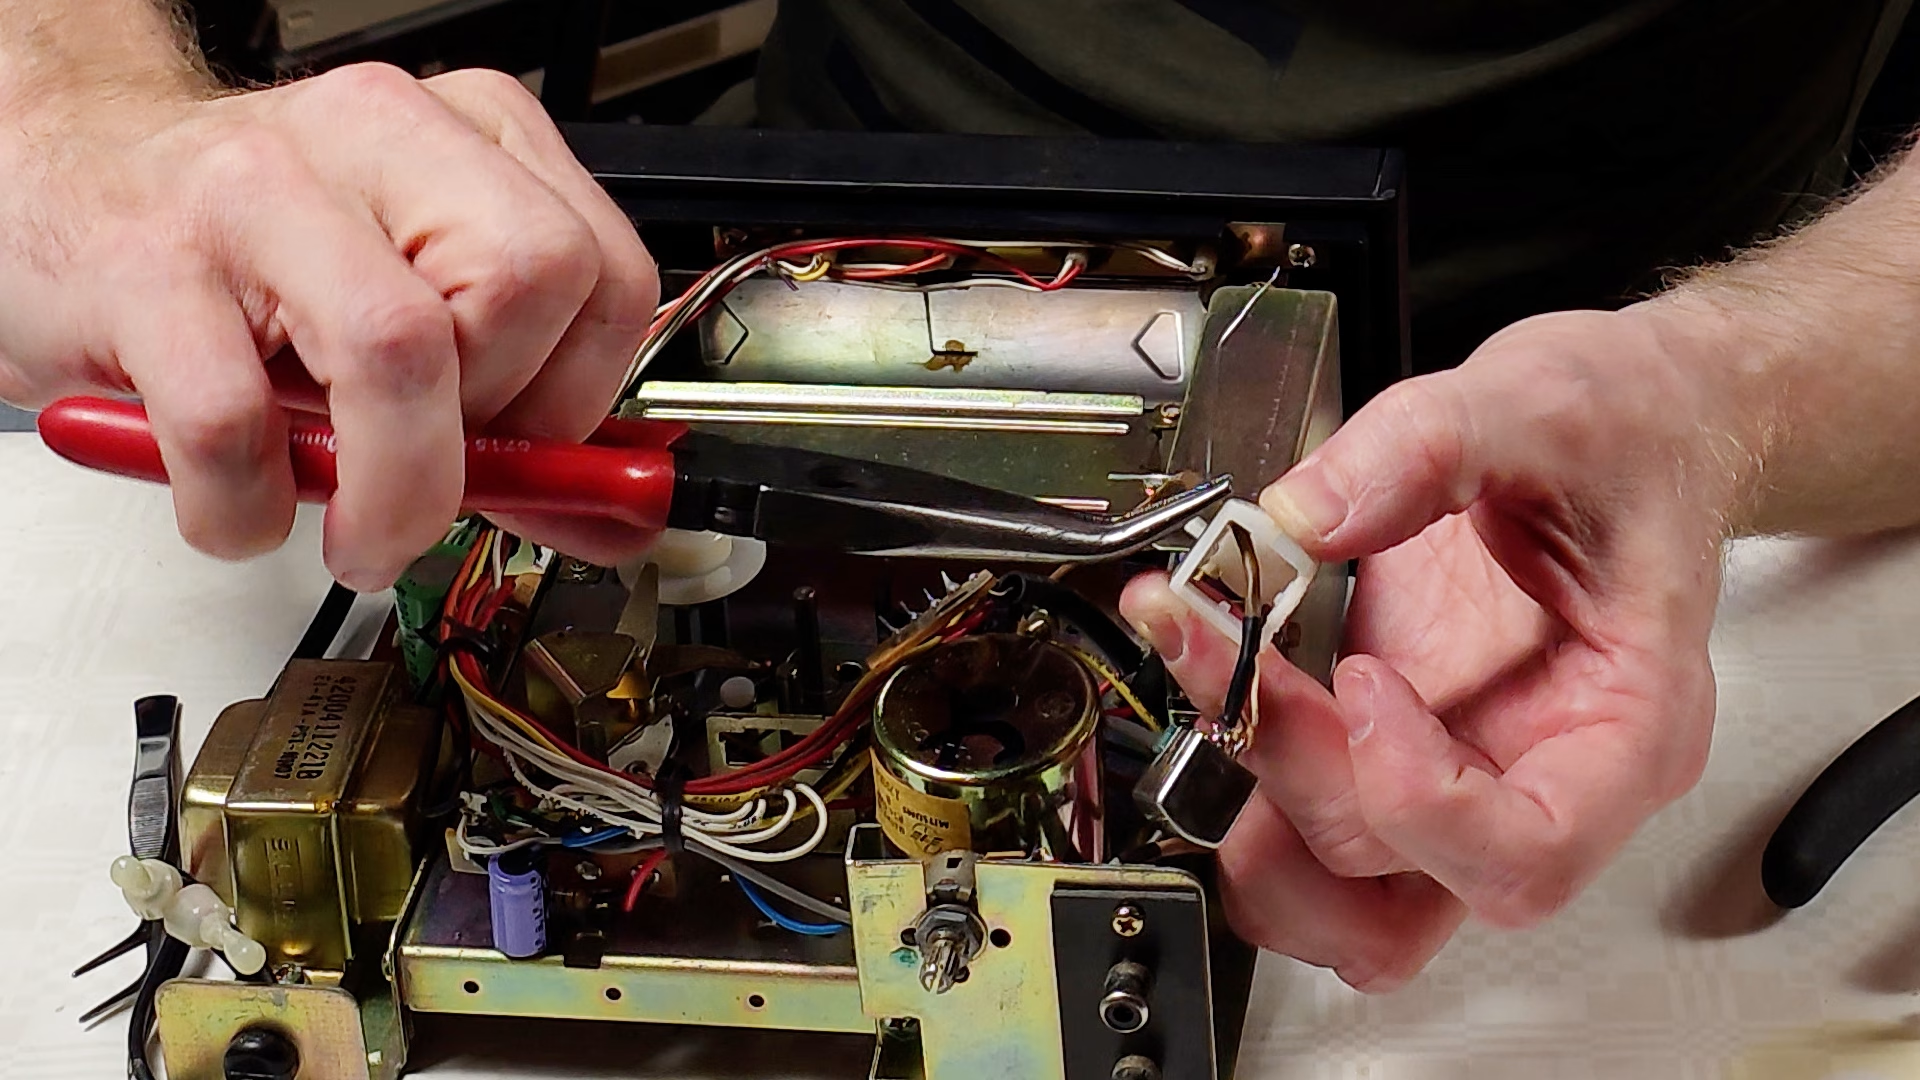
- Reinsert the playback head into the bracket and fasten the screw
- Reassemble the track change mechanism, piece by piece, in the reverse order of disassembly
- The result is a much stronger construction — even more robust than the original bracket was when new